Valentine's day sale

Up to 40% off + extra $30 off with code val30off

up to 40% off Ends soon

BUY ONE, GET ONE FREE

Days
Hours
Min
Sec

2 Memberships for (less than) the Price of 1

2 Memberships for
(less than) the Price of 1

Up To 68% Off for Memorial Day

Days
Hours
Min
Sec

Up To 68% Off for Memorial Day

learn

Parathas

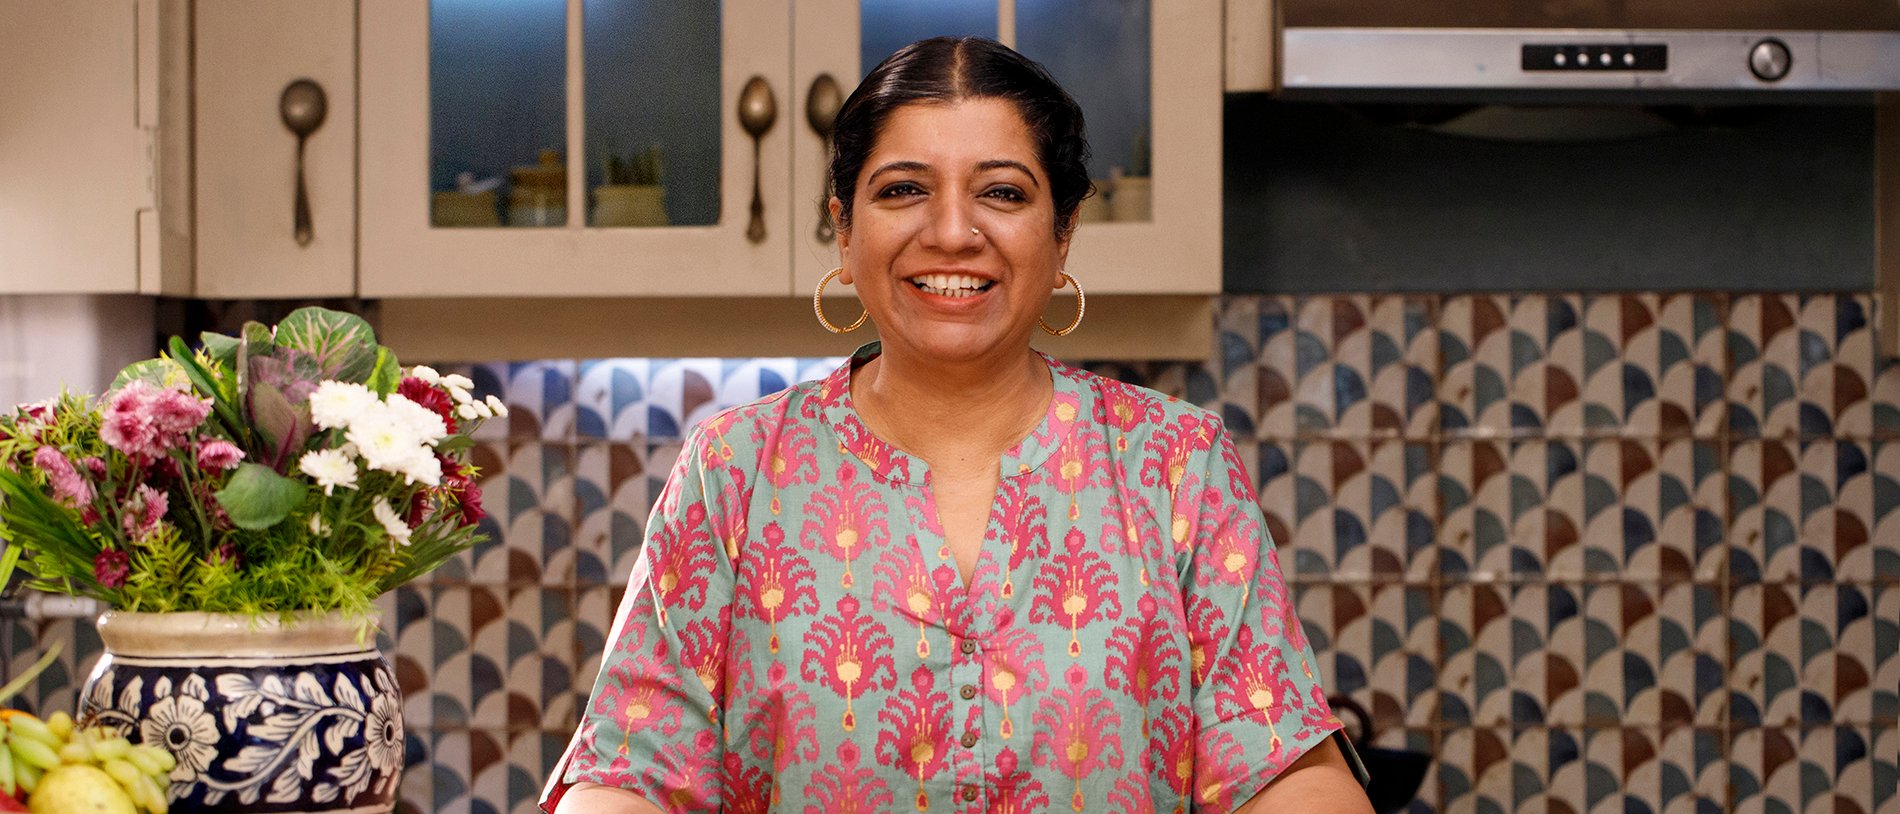
Asma Khan

Lesson time 27 min

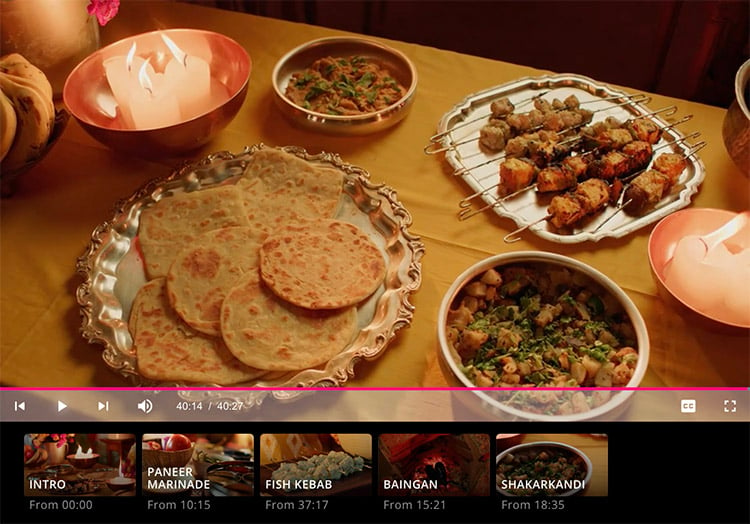
Whenever Asma thinks of home, she thinks of parathas, her favorite bread. Learn as Asma shows how to make this incredible Indian flatbread and teaches two methods of how to roll and cook it on the tawa, a flat griddle pan.

Students give this lesson an average rating of 4.7 out of 5 stars
5/5

On this page

Preview

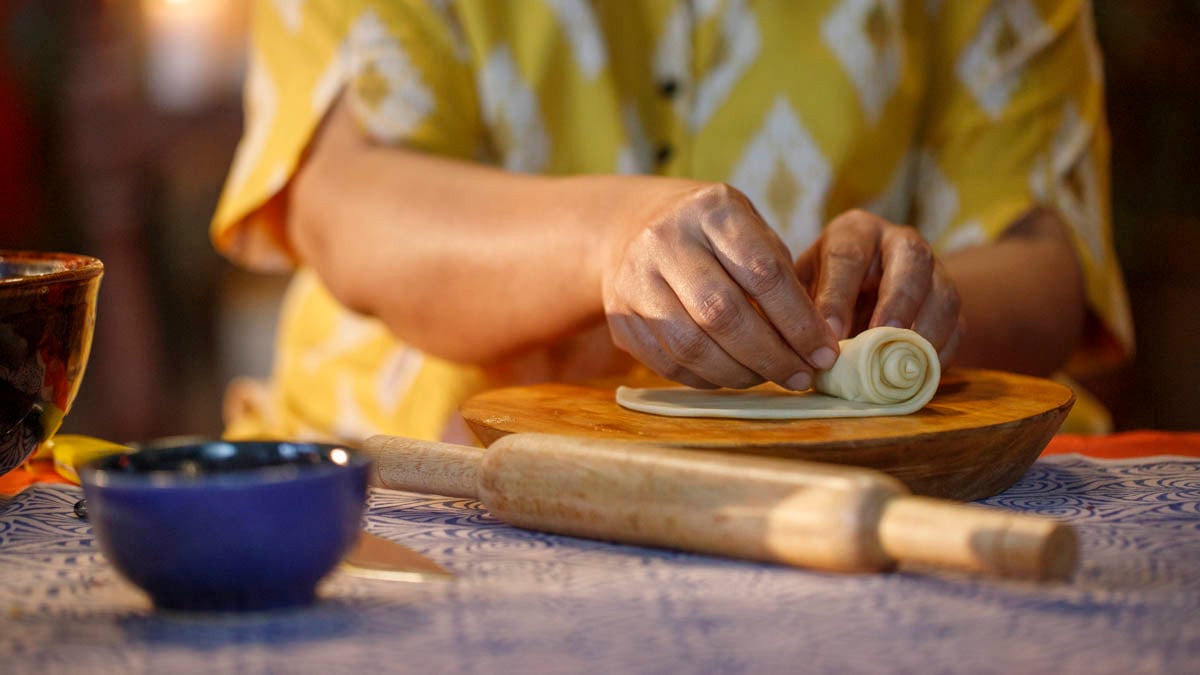
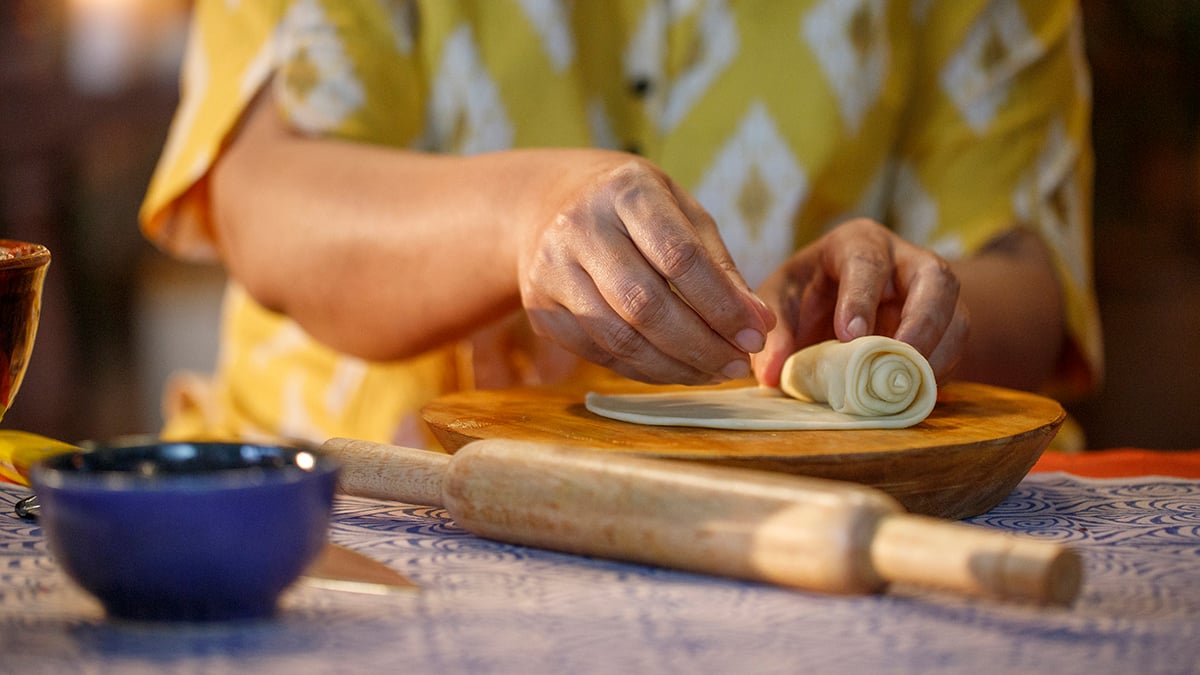
Today, I’m gonna make my favorite Indian bread, paratha. And paratha is not just a bread, or something that you eat, it is an emotion. This for me symbolizes my entire childhood. It also symbolizes the city. For those who don’t know Bengali literature, go read one story, which is “Kabuliwala”, the man from Kabul. It’s a story of a relationship and a friendship between a young girl and a man who used to come to sell spices to her family home. And, you know, she grew up, and you know, this whole story about this great friendship between Kabul and Calcutta is also about paratha. I still cry when I read that story, because it is a sense of loss, and this bread, you know, whenever I think of home, it is this bread. Now that I’m not actually breaking it into tears, let me explain what paratha is. A lot of people think that, you know, in Indian homes we eat naan and things, and we don’t, we eat parathas, it is made on a tawa, it’s a flat bread, it’s very easy to make in large numbers, for large numbers of people, you can fry two or three at the same time. This is advantage, and one thing we don’t have in India is an oven. There’s no idea of baking bread. We don’t have this whole concept of baked bread. Our bread is always made on fire, because that’s how, you know, we cook. We cook on fire, we don’t cook on ovens and we don’t have this tradition. So, paratha is very soft. There are many different versions of paratha. You can stuff it, you can add other things to the dough. What I’m actually showing you is a very classic paratha. You can then go ahead, you know, and be adventurous and add bits and pieces to it, chopped chillies, garlic, pepper, do whatever you want, but I’m showing you how to make the essential core paratha. This is a paratha that you would find the Kabuliwalas having in Calcutta. This is a paratha we grew up. What is very important to also point out, this flour is maida, which is Indian flour. So if you obviously cannot get maida, what you should do is use plain flour. Do not use bread flour. Strong flour, bread flour, these are the flours to avoid. Use the simplest, plain flour. That’ll actually give you a soft paratha because the problem is that Western wheat has got too much gluten in it. Very, very simple ingredients. The flour that I’ve talked about. The ghee. The ghee can be replaced with oil if you wanna make it vegan. The reason why I’m adding ghee is I am not gonna waste my chance and not have more ghee. This is what I miss from home, so too bad, how sad. You can add oil, it’s not a problem. There’s sugar. And this is again, gives away the Calcutta connection, because we all like a touch of sugar. Bengalis are notorious for having a sweet tooth. Little bit of baking powder, salt, and then water. That’s it. So, you’re gonna mix all of this. I start off with putting the flour into the bowl. The flour has been sifted. If you haven’t sifted the flour, please do. It brings some air in, and it’s quite important to sift the flour. So I’m gonna now add the baking powder, sugar, salt. Just gonna mix it. And then the fun part, which is the ghee. I know you, it looks like it’s a lot of ghee, but this is gonna be six parathas. And you don’t want a dry paratha, you want paratha to have some flavor and some kind of moisture in there, so ghee is bringing that in. You can use, if you don’t have ghee, and you don’t wanna use oil, you can use butter, but the better butter to use is unsalted, because you don’t wanna add, you’ve already added salt. If you have salted butter, cut back on the salt. So I’m mixing this, but I’m also making it into crumbs. So this is a very important because you want to incorporate the ghee, and if you’re using oil or unsalted butter, it’s exactly the same thing. You gotta make it look a bit like breadcrumb. This is an important stage because then you know for sure that each portion of the paratha has the ghee. It’s this kind of crumbly, very unique texture, before you add the water to it, because once you add the water, you won’t know what’s happened. So, you know, it’s quite an important step that you add the oil, the fat, before you add the water. Be thorough, but don’t overdo it. There are few lumps, it’s not a big deal, you don’t have to worry about that. Now I’m making a center and that’s where I’m gonna add the water. So in the middle, I’m gonna add the water. This is how much water I need, but I’m saving some in the bowl, just in case it’s enough, just in case it’s enough. So if you put too much water it, you know, it actually can go wrong, because then suddenly it becomes too soggy, and I think I’m just going to put a bit more water, and then that’s it. So, of course you can knead the dough in a bowl, but you need a bit of space, and I always prefer, and I think that, you know, if you can, move it to another surface which is flat, which allows you to actually put some pressure on it. So, I’m going to put some flour on the board. So you can’t actually feel the texture, but it’s very soft, and that comes from incorporating the ghee or the oil in crumbs. It’s a very simple, small tip of somehow, you know, this is a kind of housewife things that you’ll find people doing, and it gives it that incredible softness all the way. You can see, you know, in this, if I put my finger in, it’s staying, it’s not springing back. And the thing is, if you use hard flour, it’ll spring back because of the gluten. Knead with your knuckles. You knead it in, and this will come with a bit of experience, but you know, there’s that softness everywhere. You’re looking for lumps, you’re looking for bits that haven’t actually incorporated everything in it. Also, I think that if you are making dough for a lot of people, use a dough tool. It’s very hard to put this kind of pressure and knead dough for, like, 50 parathas. So if you’re doing a small amount, do it by hand, and I would say if you are new to making parathas, start with a small amount, so you know exactly how the texture will feel. So the hardness is right, but what I want you to look for is this kind of smoothness. It has to be this kind of smoothness. You know you’re in bit of trouble when you’re making a Paratha and you knead and it pushes back and it pushes back. You don’t wanna have a wrestling match with your dough, okay? The dough should just be pliable and soft. So now this is ready because if I push my finger in, it stays. It’s very soft, it has got no hard bits, it’s not crumbly, nothing is falling apart, it’s all holding it together. So you know that it’s ready, so I’m gonna put it in there. Put a damp cloth. Not soaking wet, please, you don’t want to give it a shower. So you just keep that damp cloth in there just to make sure that it doesn’t actually dry out, and do not go and put this on top of a radiator or near the sunshine, okay? ‘Cause it defeats the purpose. You wanna keep it a little bit damp. Don’t be upset when you open that cloth and it looks the same size. Flour is gonna look exactly the same, the dough’s gonna look the like the same. Give it half an hour, let it rest before you roll it out. (upbeat sitar music) So the paratha has rested, and it’s hard to kind of visually see the difference. You’ll feel the difference. It just very, very soft now, very easy to roll, and the way that I’ve watched my mother portion out the parathas is to make a little tube, that’s exactly what I’m doing. I think there are gonna be around six portions in this. So I’m just going to put it out and it’s a lot easier to do the paratha sitting down, so I’m gonna sit down. That allows me to actually also be closer. (upbeat sitar music) So now I’m gonna divide it. The easiest way to do this is to, don’t cut it all the way in case you don’t get it right first time, you know, I divide into half and then one, two, three, one, two three, and now I can cut it. So that’s one. Two. (upbeat sitar music) (relaxing flute music) I’m going to show you how to roll paratha in two different ways. I’m gonna start off with what is traditionally considered, you know, lachay dar paratha, or paratha with folds. Laccha means folds. So I’m greasing the base. (relaxing flute music) And then I start rolling it. Just use this, whatever you made the dough with, you know, don’t have to change it to ghee or oil, just need a little bit of it. So I’m not too harsh with myself because it’s not completely round, because I’m actually making it into another shape. So, take a knife, a sharp knife. Cut through half, and then you start rolling. Very, very gently, you start rolling it round. You want it to be a tight, see, you can see how tight I’m making it. If you make it loose and flappy, you’re not gonna have a very tight paratha, which you want to have. So I’m rolling it carefully, trying to make sure I keep tucking it in. I keep tucking it in to make sure that it doesn’t open up. So, now it looks like a cone, and then there’s obviously a pointy bit and a flat bit. You put the flat bit down, and then you squeeze it. So, now this one’s gonna roll out to be a round. At this point, it’s become tight. You don’t wanna do mess around with it. So basically I’m going to put it down here, and then cover it with a damp cloth, and I’ll have to leave it for a while. (playful flute music) So this is the second way to make the paratha. In my family, this is called a chaar corner, which is four corners. This is like the absolutely standard paratha on a Sunday. It’s really actually quite a nice way to get your kids to help you. It’s a little bit simpler, but also I think quite interesting, not too messy, and I think kids should learn to make their bread, and then they’ll eat it. So, you roll this out, and then you take a bit of ghee, and it’s not like, you know, tons of ghee, you’re just gonna layer it a bit. So it’s like putting butter on bread, okay? You’re not gonna drown it. Then you sprinkle a bit of plain flour. You’ve got to kind of make sure that the flour goes everywhere, otherwise this is gonna be quite hard to roll later on. Then you take one flap that way. Another flap. You’re trying to get to a square. (energetic drum music) You fold it together. Just kind of try and compact it. This is in the hope that it’s gonna turn out square. It doesn’t always work, but I try and kind of shape it, and then when I roll it it’s kind of slightly not completely square. (upbeat drum music) And then, you know, you leave it to rest for half an hour. (relaxing flute music) So, now that the paratha has been curled up and rested, you don’t want to add more ghee to it because otherwise it’s gonna become too soft, it’s already now firm. So, this is when you actually need to use a lightly floured surface, because you’re just gonna make sure that it doesn’t get stuck. This is something that comes with practice. Don’t put pressure, let it roll naturally. It’ll move around, and that’s when the perfect circle will come. It’s very tempting to put pressure on it. Don’t put pressure on it because otherwise what’s gonna happen is it’s going to actually start opening up, and you don’t want it to open up because there are little folds in there. Remember the folds? That, you know, I made at the beginning. So you want it to have a flat surface. This does require some patience and some gentleness, you’ve gotta be a bit gentle. So this is around six inches diameter. I think I’m, this is the right kind of size. You can make it a bit thinner if you want. This really depends on your kind of, you know, do you have the confidence to kind of make it thinner? Because of course there’s a risk that you might tear it, but be brave, be brave. And you know, paratha is gonna taste nice, irrespective of what happens. I’m gonna show you what the square one will come out to be like, again, use flour. You know, here you can feel the ghee has come in, it’s quite soft, and despite my best efforts to make a square, I have a feeling it’s going to be squareish and not square. So this of course, different technique, you’ve gotta keep turning it around. Oh, I’ve done quite a good job. It’s square, it’s square. See here you can see the folds. And you’ve gotta gently, gently put a bit of pressure. You can see the folds off there. So just gotta be a bit gentle around there, so it doesn’t open up. ‘Cause you put pressure, it’s gonna pop up. Just roll your hand this way, and if you think that you’re putting too much pressure, use two fingers! My mother used to tell me this, use two fingers, because then with two fingers, you cannot actually put a lot of pressure. Everybody could make parathas. (upbeat folk music) This is the tawa, which is a flat, cast iron pan, and this is ideal kind of surface on which to make paratha because you want it to have low, but diffused heat. If you don’t have an iron kind of cast iron pan to use, you can use a non-stick, but the most important thing is it has to be diffused heat, because otherwise what’s gonna happen is parts of your paratha are going to be burnt and parts are going to be raw. So the even heat is what is the tawa’s greatest strength. It takes time to heat up, it’s getting there, fire is getting more and more ferocious. (upbeat flute music) So, I am cooking one side. As you can see, the pan, one side is cooked a little bit more than the other, this inevitably happens, but it happens less with the cast iron pan and I’m squeezing it down to make sure that it’s cooking all the way through. So here you can see it’s cooked all the way through. So initially it’s always the case that it cooks slightly unevenly, and there I’m squeezing it down to make sure that the inside doesn’t stay raw. Just a drizzle more of ghee, or oil, if you’re using oil. Now I have a tawa that’s big enough, so I can actually put it to the side where it’s a bit less hot, and I can put in the other one. Just keep an eye on this. This is looking good. See, this is puffing up. It has to puff up because that shows that actually the heat has gone in into all the layers and cooked through. And a lot of people think that, you know, paratha cook very quick, but what can happen is your paratha can look cooked from outside, and be raw inside. So, that is the sign of a well made paratha, okay? This you’ll learn with experience, so now I’m ready to finish it off, and glaze it with the ghee. I’m putting a bit of ghee on the top, and complete it. There, so there it gets this kind of speckled brown look, because what you don’t want is for the speckled brown look to become dark brown and burnt. You need the paratha to cook inside. So now this one is ready to go. I’m putting it down. That I’m gonna move to the side. Putting another one in, and in actually this way, if you have a barbecue and you’ve got friends gathering, let them do this. It’s actually really fun. This will actually show you why paratha is so great for big families and gatherings because, you know, I could, if I wanted, have five parathas going in one go. So you can see it’s flaky. That’s where the folds were. So, in a home kitchen, you can make this in a cast iron pan or you can do it in a non stick pan. You know, it is really about diffused heat, because this is what it is. The perfect pan is the one where no side is burnt more, they’ve all heated and they’ve all cooked perfectly. The ghee goes in, but I lift the parathas a bit to let the ghee slide in. See, now you can see the ghee is getting absorbed in the paratha. My paratha is now ready.
About the Instructor

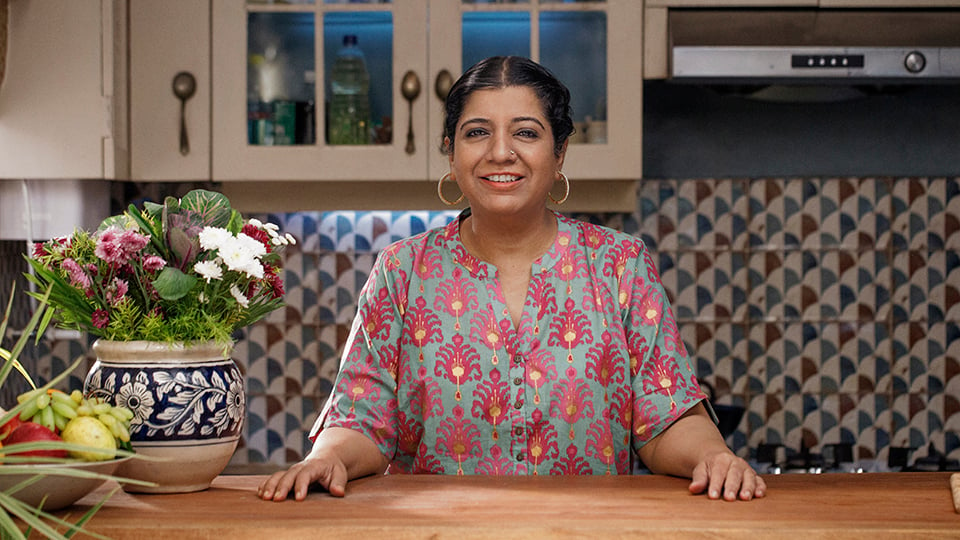
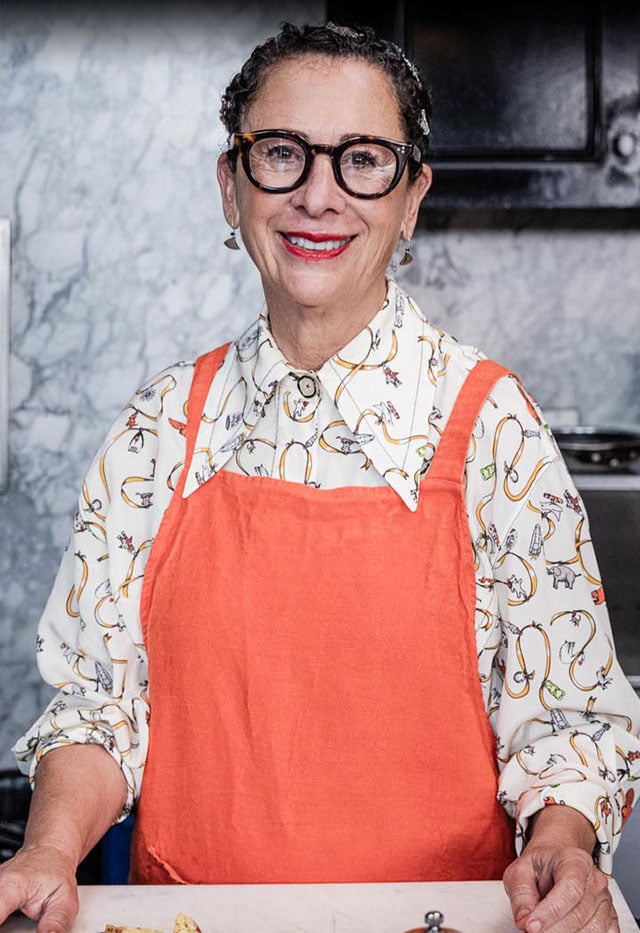
Asma Khan, owner of famed London eatery Darjeeling Express and bestselling cookbook author of “Asma’s Indian Kitchen” teaches her favorite family recipes, inspired by her childhood in Kolkata, India. The chef, restaurateur, and activist is the first UK-based chef to be featured on Netflix’s Emmy-nominated Chef’s Table and, in 2019, was listed number 1 on Business Insider’s ranking of “100 Coolest People in Food and Drink”. Join Asma on a nostalgic culinary journey to explore the smells, flavors, and ingredients of her ancestral Bengali roots.