BUY ONE, GET ONE FREE
HOLIDAY SALE - UP TO 55% OFF
0
days
0
hours
0
min
0
sec
UNLOCK OFFER
BUY ONE, GET ONE FREE
HOLIDAY SALE - UP TO 55% OFF
UNLOCK OFFER
learn
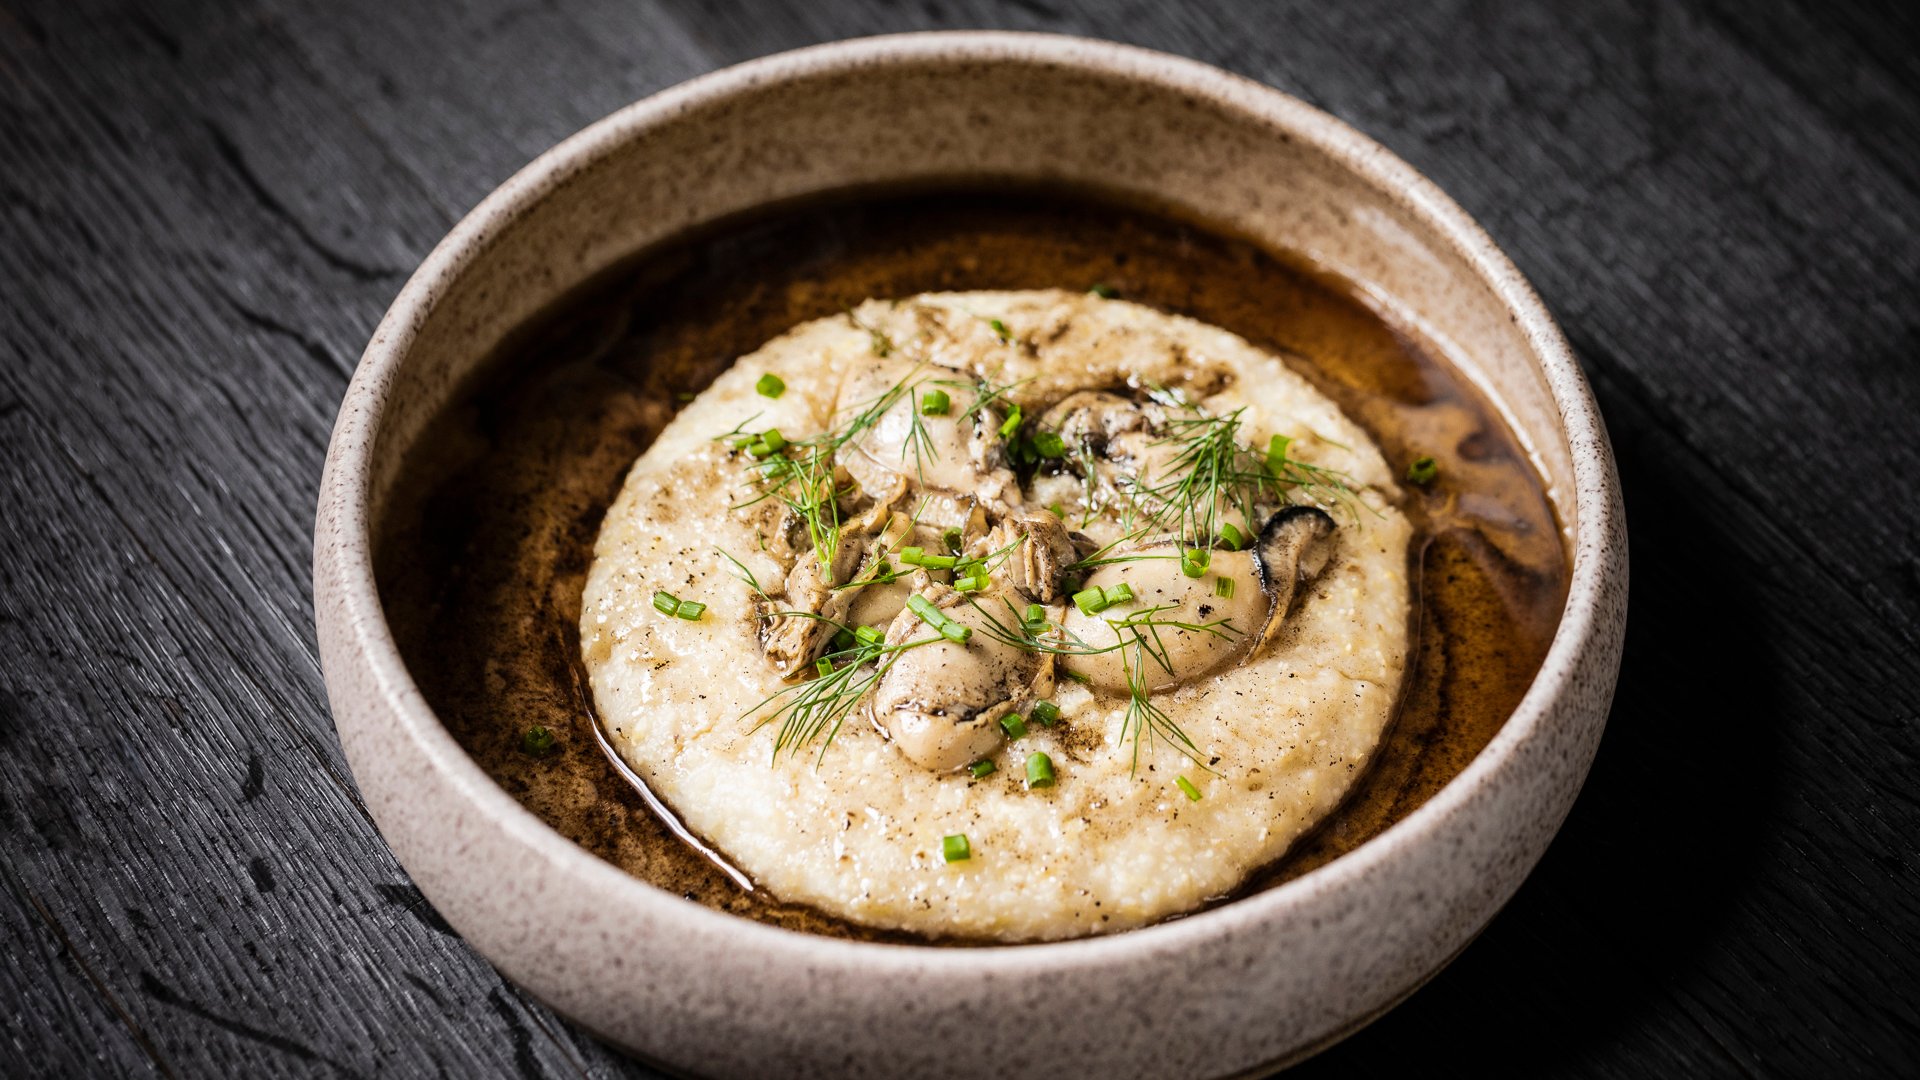
Oysters & Grits in Bourbon Brown Butter
Lesson from Edward Lee's class

Video time 24 min

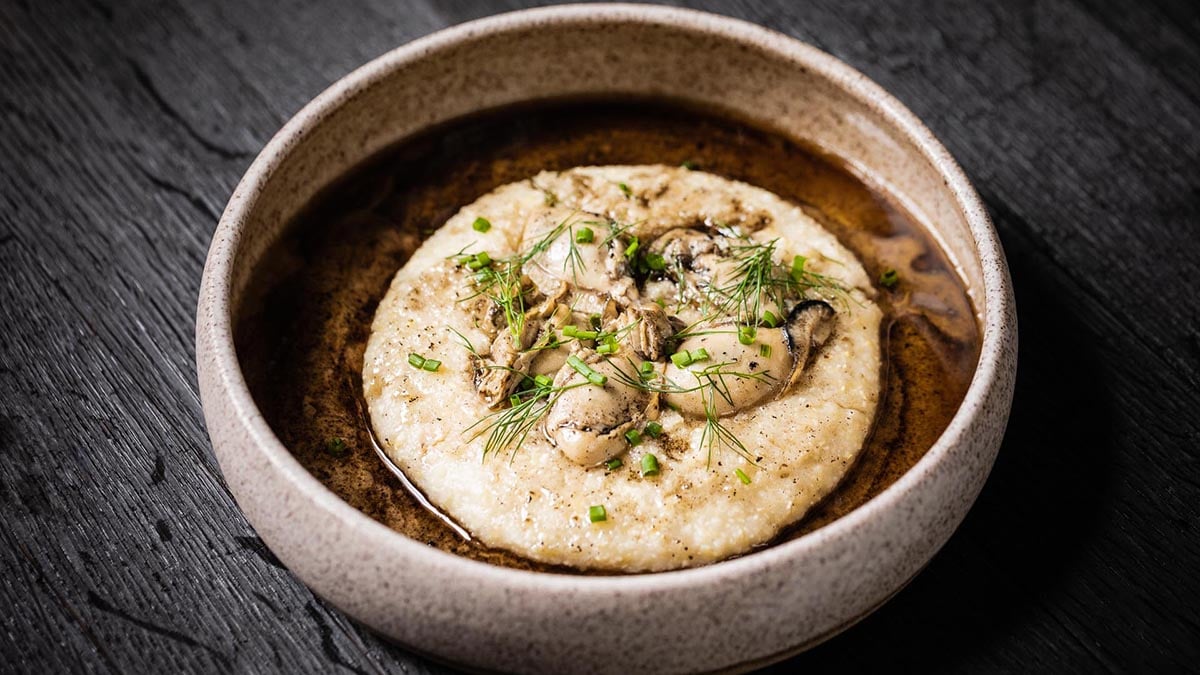
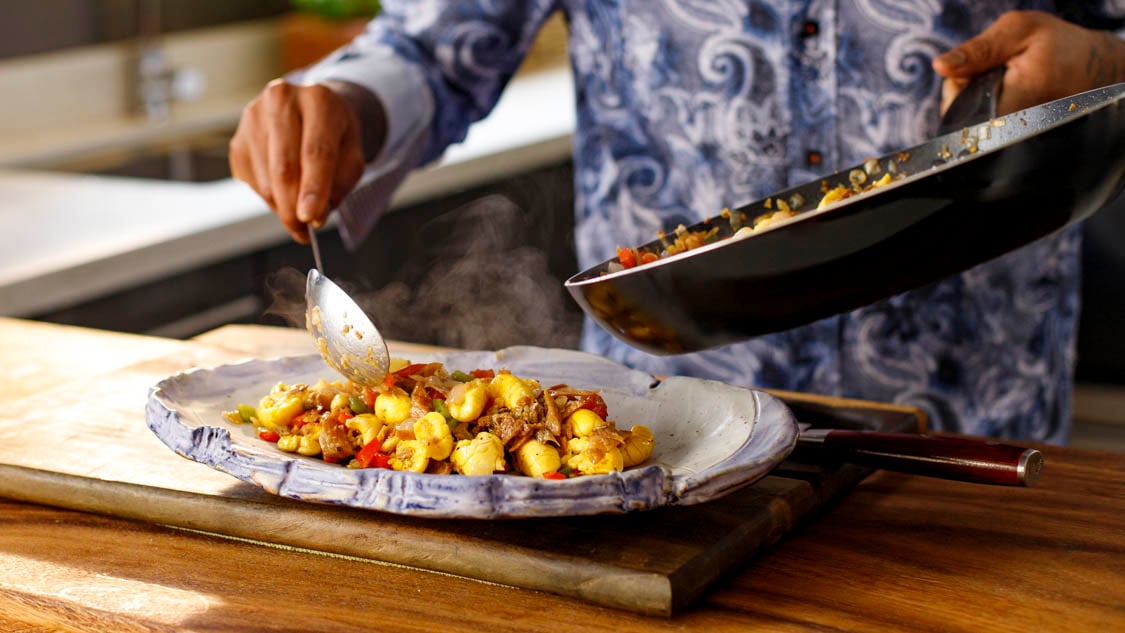
Edward revisits the Southern classic dish of shrimp and grits with his own unique take that combines his love of bourbon and oysters.

Topics include: Grits • Shuking Oysters • Brown Butter • Hot Vinegar • Poaching

On this page

Preview

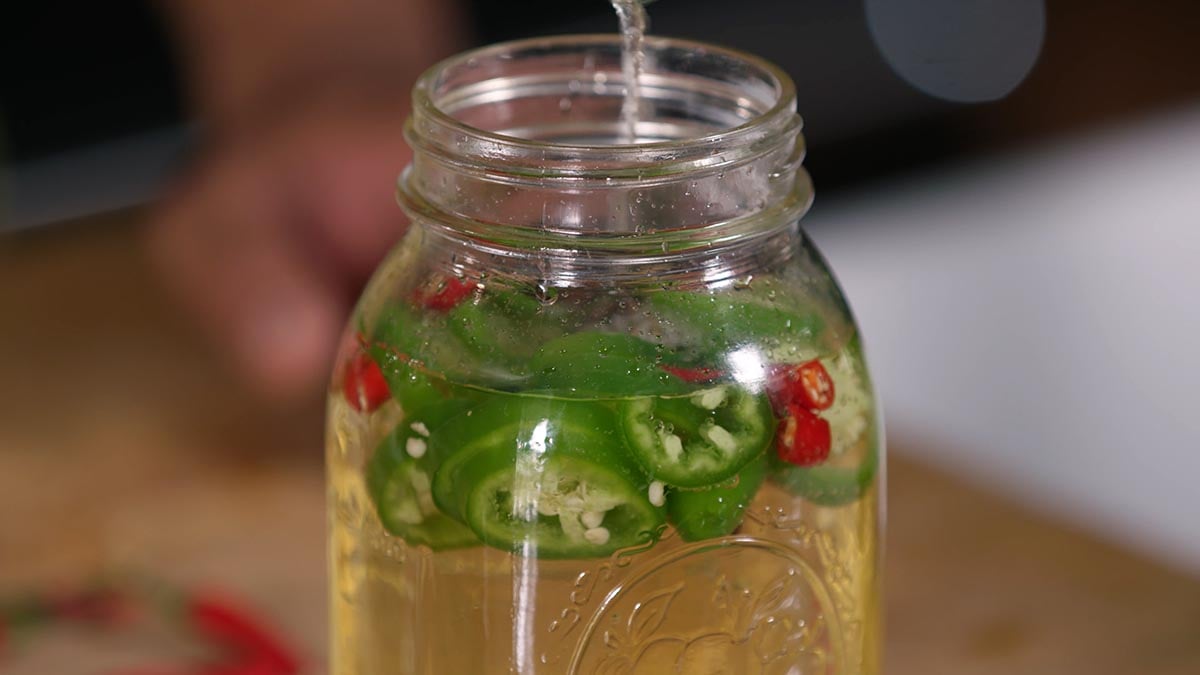
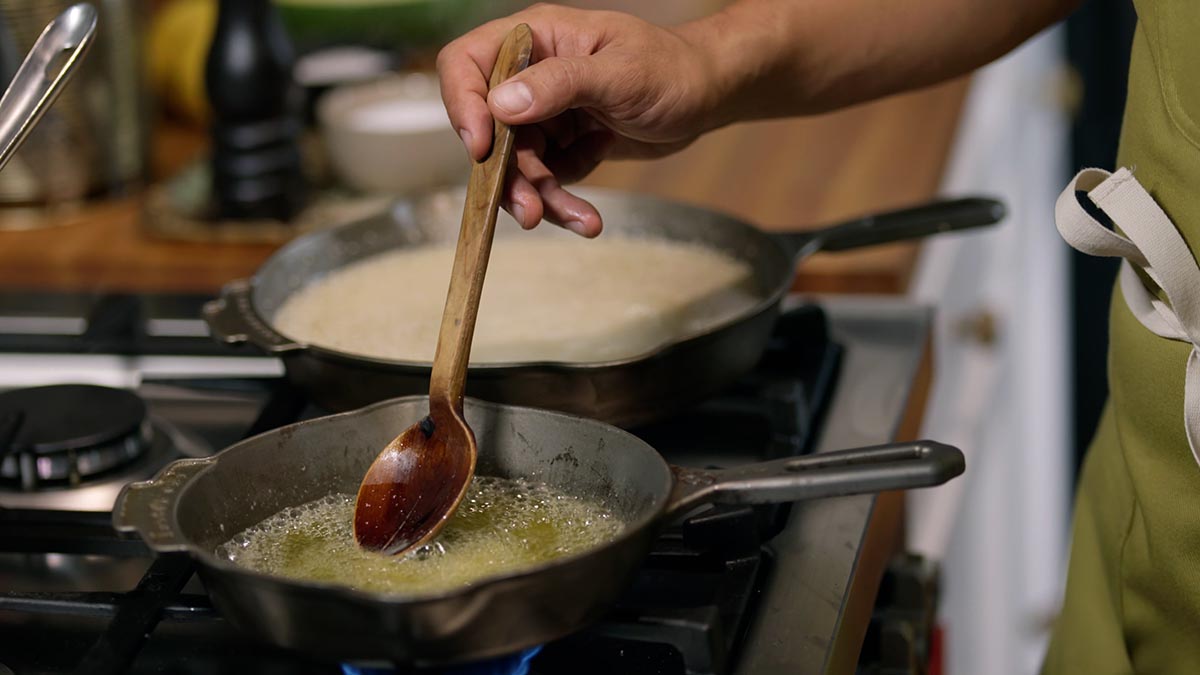
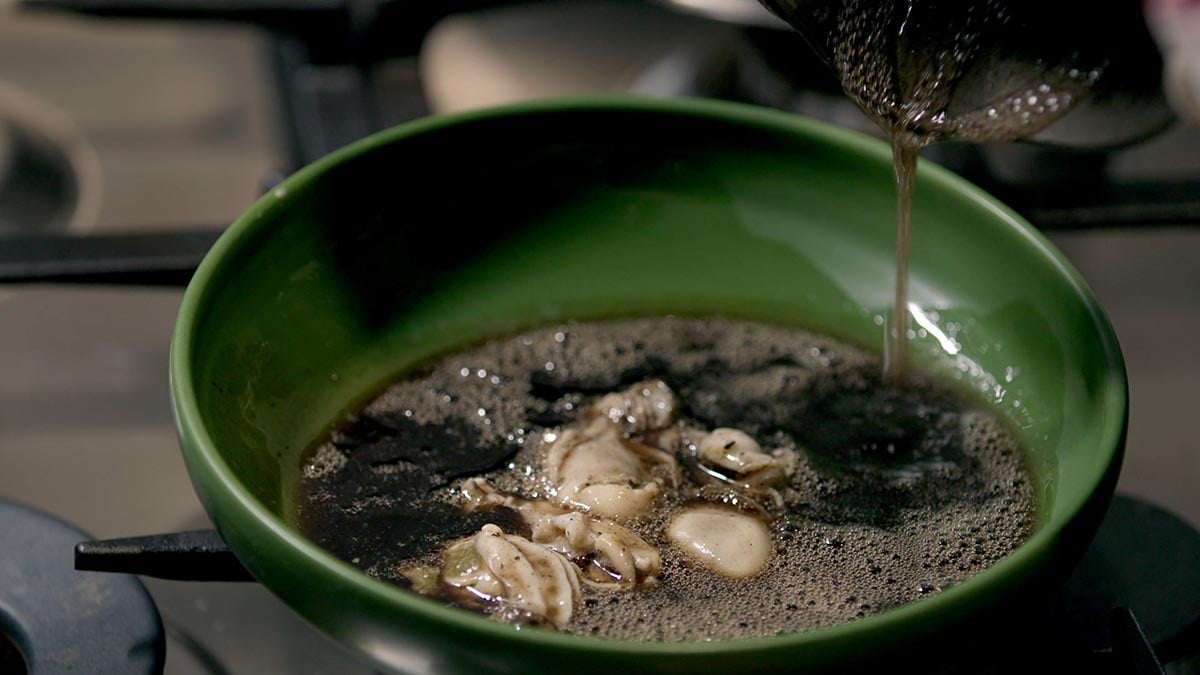
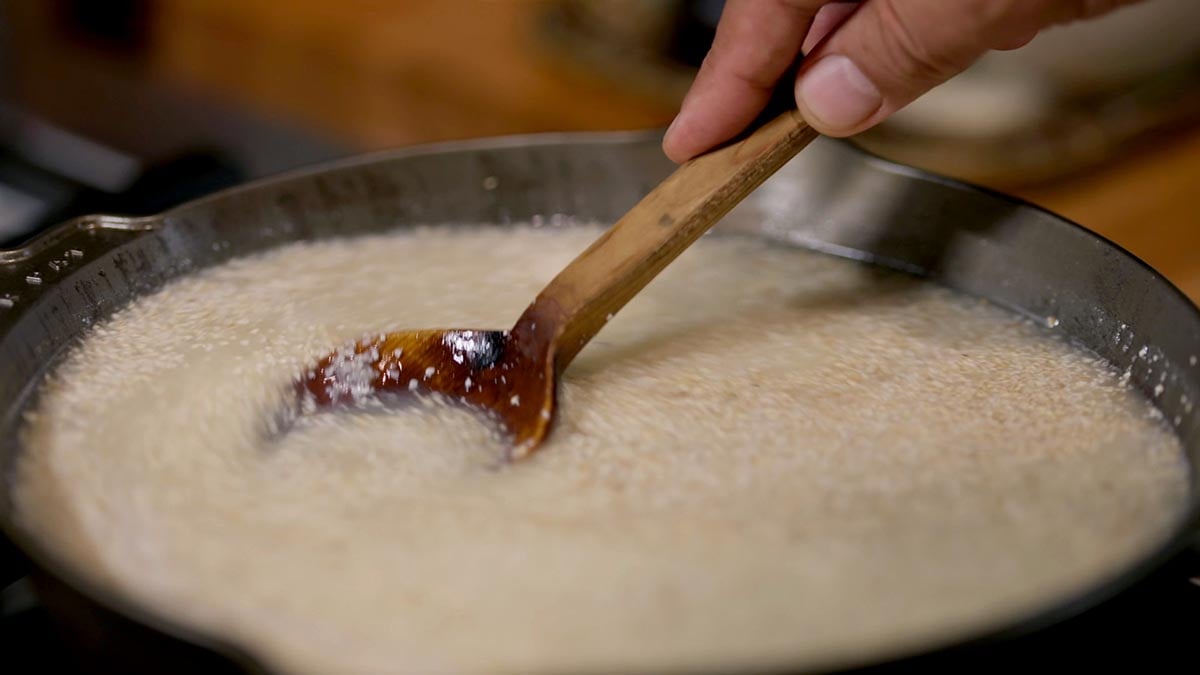
It's all about patience. It's all about trusting your senses. And the only way to know that it's done is by smell. It's almost like toasted hazelnuts and toasted almonds. Today I'm gonna show you a really simple recipe. Oysters and grits with bourbon brown butter. There's a lot that goes into this recipe,. It's a very simple recipe, but you're gonna see how the flavors kind of build on each other. You probably have heard of shrimp and grits. It's one of the iconic dishes of the south, you see it at every restaurant. And I'm kind of putting a spin on it to do oysters because, for me, the flavor of bourbon and the flavor of oysters are sort of a pairing that really work nicely together. So, the first thing we're gonna do is work with grits. We're using really simple ingredients. And when you have a dish that only has a few ingredients, every component of this dish has to be well sourced. It has to be really nice. Grits are basically dried corn that has been broken into uneven pieces. If you can see the texture on that, there's a lot of uneven pieces. You can see there's grist, there's kind of a floweriness. The nice thing about grits, if you rub it in your hand and you kind of let it go, they'll be a slight little powdery texture that lands on your fingers. And that's great. So, cold water. If you cook grits from scratch, it's gonna take a long time. You're gonna have to constantly stir. You could kick it in a double boiler, which takes even longer and you get a really beautiful product at the end. For me, a really nice shortcut but that doesn't sort of ruin the integrity of the dish is to soak it overnight. Leave it out at room temperature. These are the same grits that I mixed with water last night. Don't worry about how much water to grits, just make sure it's really full because you're gonna strain out the water anyway. So these grits have started to plump up with water. So they're just starting to plump up nicely and that will reduce your cooking time by a good hour or so. And that's what you got. I'm gonna strain some of it out, but not all of it out. 'Cause that beautiful liquid, you can see how cloudy that liquid is. And that liquid has a lot of flavor in it so I'm just gonna strain out some of it there. And now we're ready to cook these grits. All right, so. Grits go in my pan. Basically, you're gonna try and rehydrate these grits. You can use any number of liquids. Obviously, I'm gonna use chicken stock here because I want that nice, meaty flavor. But I've also got some of that grit water still in there. You can use a veggie stock if you want to. I don't add any cream, or butter, or cheese. I'm gonna finish that off with a little bit of butter at the end. When you have a good quality dried grit, you don't have to add much to it. We're just gonna cook this for about 40 minutes. Really important too, always use a wooden spoon. Try and scrape the bottom of this pan to make sure that you're almost touching the surface area of the bottom of your pan. You can make figure eights, you can go side to side, you can do it however you want. But make sure at some point, the back of the spoon is sort of grazing over the surface of the bottom of that pan. I'm gonna watch that carefully but in the meantime, I'm gonna start some bourbon brown butter. I'm gonna put my fire onto medium. This is actually a French technique. We're gonna melt some butter in a pan. This is another recipe that it's all about patience. It's all about trusting your senses. I'm slowly stirring this butter until the milk solids start to cook and caramelize. What will happen is, the milk solids will start to turn brown. And as they turn brown, they're gonna give off an incredibly nutty aroma. It's almost like toasted hazelnuts and toasted almonds. And the only way to know that it's done is by this. Is by smell. For the most part, depending on the pan you use, you really can't tell the color of it. And there's no real texture difference. You'll see it start to turn a little bit brown. You'll notice some of these bits are gonna start to coalesce and they're gonna start to kinda gather around your spoon. There's actually quite a bit of water in butter and so the first thing that's happening when you're doing this is you're evaporating the water. Now the butter in your pan is gonna be water free, it's gonna be a little bit more viscus and then the milk solids will start to toast. And I can see even here that they're starting to just get a little bit brown. And what you wanna do is kind of wave... Starting to get a little bit toasty. Now I like my brown butter to be nice and toasted. I like them to be really browned. You're almost at the point right now where you can take it off the stove but I'm just gonna leave it on there just for a little bit longer. The important thing with this is you're constantly standing over the stove and smelling. And that's when you know it's done. And that's it. That's perfectly browned butter. I'm gonna leave the brown butter there, I'm gonna let it cool off just for one second. I'm gonna just keep the grits stirring. You can see even in that short amount of time, I've already got some grits sticking to the bottom of the pan. So I'm gonna gently scrape and release everything that's on the bottom of that pan. And you can see how quickly it started to take on this thicker texture. Beautiful. So, any time you add alcohol to something hot, it's gonna bubble up, it's gonna foam up. Alcohol will boil off at a lower temperature than water does. So when we add the bourbon to the brown butter, what you're gonna get is a little bit of a foaming up process. When you do this, start with a little bit at a time. And you can see that pan sizzle. Now we're gonna add quite a bit of bourbon to this 'cause I really want that bourbon flavor to stand out. But you wanna do it a little bit at a time or else it's gonna really jack up the smoke and you're gonna have a big explosion. And you're gonna wait til all these bubbles go away. And when the bubbles go away, you know that the alcohol has burned off and the water has evaporated off. If you wanna do it gently. But this is all the alcohol right now evaporating, burning off. Anytime you cook with alcohol, be it bourbon, brandy, wine, you have to make sure you cook off that alcohol in there. 'Cause there's nothing worse than tasting warm alcohol in any of your sauces. What I'm really going for is just the flavor of the bourbon. Obviously when we're cooking southern food, bourbon has that perfect mix of sweetness, smokiness, it's got some leather notes, some hay notes. Those things work just absolutely beautiful with anything that is southern food. Because a lot of southern food has smoke in it, a lot of southern food has the boldness, the spiciness and bourbon cuts right through it. So I love using bourbon as opposed to a Scotch or another kind of whiskey. We're here in bourbon country. And it has a history here and this means a lot to me to be able to take bourbon, something that was made here, something that was invented here and actually use it as an ingredient, not just a libation. So this sauce plus grits and now oysters. And you know, bourbon was kind of a... Before it became so popular and before it became, you know, this highfalutin spirit, bourbon's history has always been sort of a working man's history. It's really been more of a blue collar drink. And one of the other ingredients I find that is similar to that is oysters. We kind of think of oysters now as a luxury ingredient and though it is, you know, 100 years ago, oysters were not a luxury ingredient. They were very plentiful. It was actually very cheap. All along the East Coast, they would have oyster stalls in New England and you could buy them pretty cheaply off a guy in a, you know, street car. So to me, this pairing of oysters, you know, historically, this really sort of blue collar food with this blue collar drink called bourbon, that to me, that pairing just works. It works both from a flavor profile but it also works culturally. You know, have a historical context together but then also put them together from a food context. All right, so now we're gonna taste that. Remember, we've got browned butter and just a little bit of bourbon-or a lot of bourbon-that's been evaporated. Mmm, perfect. Perfect. So at this point, we're gonna flavor it. We're just gonna add a little bit of salt. Just any old salt you want and I'm just gonna add just for a little bit of acidity, a little bit of lemon juice. Again, I don't want this to taste lemony but, you know, you've got six tablespoons of butter and about a half a cup of bourbon in there so it's really rich. And anytime something has that much richness in it, you wanna just balance it out with a little bit of acidity. And I'm not gonna add more than just that much lemon juice. And you'll see when I taste this, you're not gonna taste the lemon juice. But right now, what you're doing is you're using acidity to just cut through that fat. Perfect. You know, when you have something that's that rich, that lemon juice is actually gonna balance it out and it's gonna make the dish miraculously, it kind of makes the bourbon taste more bourbon-y. And that's what acidity does. And that's where you sort of start to use acidity as a tool, not necessarily as lemon flavor. And the way I break things down for me is it's very simple. You have saltiness, sweetness, you have bitterness, you have sour, and you have this fifth thing called umami. And what I use sourness, or tartness, or acidity is to balance things. It's not necessarily to make things acidic or lemony. So this dish with just a little bit of lemon juice will create a much more balanced sauce in your mouth. Now look at how these grits are coming together. I mean, we're almost... We're almost there. It's so good. And really at this point, all you're gonna do is finish it with a little bit of salt and a little bit of butter and your grits are pretty much almost there. As I taste it, it tastes really beautiful, it's got a nice corn flavor, but I can start to pick up the chicken flavor. And I don't want too much of it so I'm gonna finish it off actually, with just some water. I also don't want the grits to taste like chicken soup. Okay, so if you noticed, I haven't salted this yet at all. And what I'm gonna do is I'm gonna wait for the texture to be perfect and then I'm gonna add the salt right at the end. Same with the bourbon brown butter, I didn't add salt. Salt is always something that you finish with at the end. Once you know you've reduced sauces, you've finished everything, you kinda salt it right at the end. And then you control it. You add a little bit at a time, taste, little bit at a time, taste. Salt is never something that you measure and then dump it all in at once. 'Cause you just never know, different salts have different salinity levels and you're cooking also will be affected. You can cook something down a little bit more one time, or maybe you added a little less water one time, or maybe your chicken stock already had salt in it. So there's a lot of factors that go into cooking and salinity. So you wanna make sure that everything, when you actually physically add salt yourself, that comes at the end when you have control. All right, let's get to some oysters. You're all afraid of oysters, I know you are. So I'm gonna make sure that today you're gonna learn about oysters. Let's first of all talk about the structure of an oyster. There's a top and a bottom, right? The bottom side has a cup to it and the top side is flat. You're always gonna want to kinda keep the bottom side in your hand and the top side flat. Oysters have a lot of juice and you wanna preserve that juice. If you open it this way, as soon as you pop it open, all that juice comes out and it lands on your cutting board and that's no good. So that's an oyster. Here is an oyster knife. And you're oyster knife is going to sort of pry that open. Now, there's a muscle right about there and it's connecting the top shell and the bottom shell together. So you're job is to release this top hatch, pop it open, and release the oyster. Shucking an oyster shouldn't be a violent move. So everyone's really afraid about cutting themselves. I have never, in my entire life, over thousands of oysters ever cut my hand. Because if you learn the proper technique there's no reason why the oyster knife should ever get near your hand. So what you're gonna do is put it in a towel, just to stay safe, all right? I'm gonna put the towel on my cutting board, I'm gonna wrap it once around, all right? Now at this point, this is when everyone freaks out because at this point, you're gonna meet some resistance. That's not gonna work, you're not gonna pop that open like that. They take their oyster knife and they jam it and they stab it and then guess what happens. You stab your hand. It's not about strength. You're not jamming this knife this way to get it open. What you're doing is you're prying it. So as you apply pressure, you go back and forth. And you'll see a little bit of a cracks, that's okay. You're gonna keep going down and then you're gonna feel at some point, it just kinda goes through because since you're going back and forth, you're prying it open, you're almost digging a little hole and just gonna put right through and then you just keep doing that. It just popped open, all right? So then, you've pried it open. That's step one. Now that the top of the oyster is released, you're gonna take your thin oyster knife and you're gonna run it very gently, just along the top edge of that shell. And I'm looking for that little muscle that's attached. You'll feel the resistance and as soon as you do, you'll cut through it and the oyster will release perfectly. You've got your oyster intact, you haven't punctured it, the juice is still in there, it's glistening, it's shiny. You have to smell every single oyster that you open 'cause you never know when you're gonna get an oyster that's dead or bad. People always ask me, "What am I looking for? "What do I smell?" It's very instinctual. You have this built-in sensor in your nose. If it smells like the ocean, if it smells fresh, if it smells salty, briny, it's good. If it smells like the bottom of your shoe after, you know, six hours in the woods, don't eat it. An oyster that smells like ammonia will be bad. It could be one in every 10, could be one in every 20. There's no rhyme or reason to it, which is why you have to smell it every time. So what I do now is I wanna release the oyster. So I just kinda scrape it. Scrape it and there's that muscle right there and you're gonna just scrape around it and that's it. And you've released the oyster. And now you have a perfect oyster ready to be cooked, you can eat it raw, you can do whatever you want with it. We're gonna finish our grits. Now the grits are perfect right now. Salt. Mix. And then I'm gonna go with a little bit of butter, just a little bit. Kinda finish it out. So much of all of cooking is really about feeling it, tasting it, understanding the food and it's instinctual. It really is inside of all of us. And the more you practice at this, the more you're gonna find success. Okay, so I've got oysters that are super rich, I've got bourbon brown butter, which is super, super rich, and I've got grits that are just gonna be creamy. All of this richness, I wanna cut with something a little bit bright, a little bit acidic, and maybe even a little bit spicy so I have here something that I always have in my house, it's kind of an all purpose vinegar that I use for a lot of things and I just call it hot vinegar. I'm just taking vinegar and I'm gonna marinate it in some chilies, ginger, and some spices. Here it's gonna be star anise. So I take one jalapeño pepper. And I use the seeds and all, just throw it right in there. Couple of Thai chilies. These are super, super hot so be careful. I'll take like three of these for one nice jar. And you can put as many or as little as you want. I've got some ginger here and it peels off so easily with this spoon. So really, this way, you peel just the thin membrane of skin, which will leave all the good stuff. So that ginger goes in there. And I usually just leave it in big, chunky pieces. And then I'll take some star anise, about three or four. That's it. And then I'll take some rice vinegar. And you can do any kind of vinegar you want, if you wanna use apple cider vinegar, if you wanna use champagne vinegar, I just happen to have some rice vinegar. put a top on it and leave this at room temperature. And it'll take about a week to really start to flavor it. Hot vinegar. All right. Now for the final moment. Oysters are gonna go in here. If your bourbon brown butter is cold, you're gonna warm it back up but just a little. So I'm gonna put it on the lowest fire possible. The beautiful thing, I'm gonna take my oysters and I'm just gonna dump it in here. Once it goes in here, it's gonna go really fast so you gotta sort of be ready. 'Cause you wanna cook your oysters so that it's still a little bit raw in the middle but the outside is nice and warmed and poached. And the other thing I want is all that oyster juice that we have, I wanna go right in there with everything. Kay, 'cause that's flavor too. So I'm gonna turn my heat off. Let that simmer. And I am done. Now, if you wanna stop the cooking, you wanna leave it in the pan, just put it right back into your bowl. Perfect. Now it's stopped, the oysters are just gently poached. I promise you, it's still a little bit raw in the middle but you see the outside is nice and curled up. They're really beautiful and warm. Let's go ahead and plate this dish out. I always give those grits a final, vigorous stir just to kinda cream it out a little bit. And you see how those grits just kind of start to... They don't hold its shape, they just kinda meh. They relax. I'm gonna scrape a little bit of butter, put it right in the middle there. And then this is it. This is the moment of truth. I got oysters, and you see how I'm also plating it with some of that bourbon brown butter. All right, and I'm gonna take a nice, big spoonful and just go around the entire plate with it. Don't forget, your beautiful hot vinegar. And it's just like half a teaspoon, really just kinda sprinkled over the top. And it's gonna give you that nice, bracing hit of acid that's just gonna pop in your mouth. Last thing we're gonna do is throw some herbs. This dish is really rich so you want a little something fresh in there over the top. Dill and some chives for this one and each one will add it's own kinda flavor to it. And that's really it. Okay, you wanna make sure to serve and eat this while the oysters are still hot. That's it, simple.
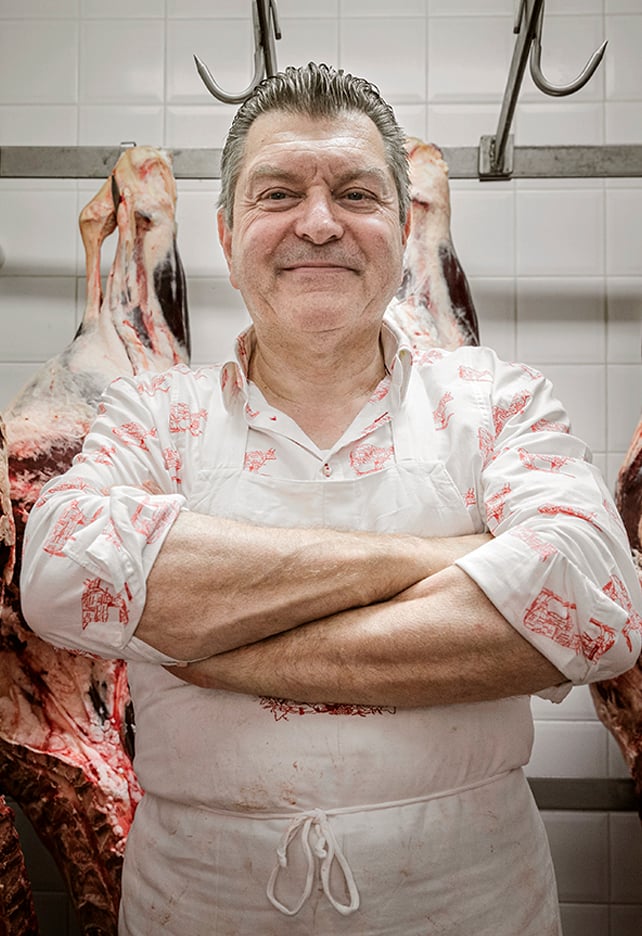
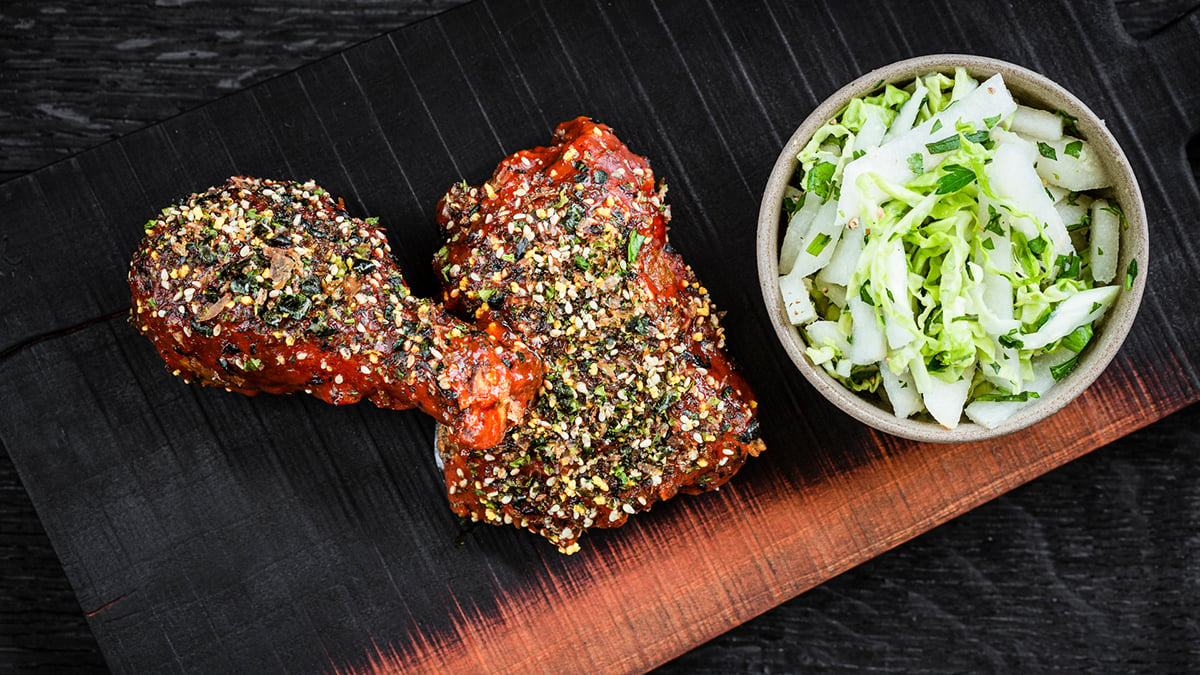
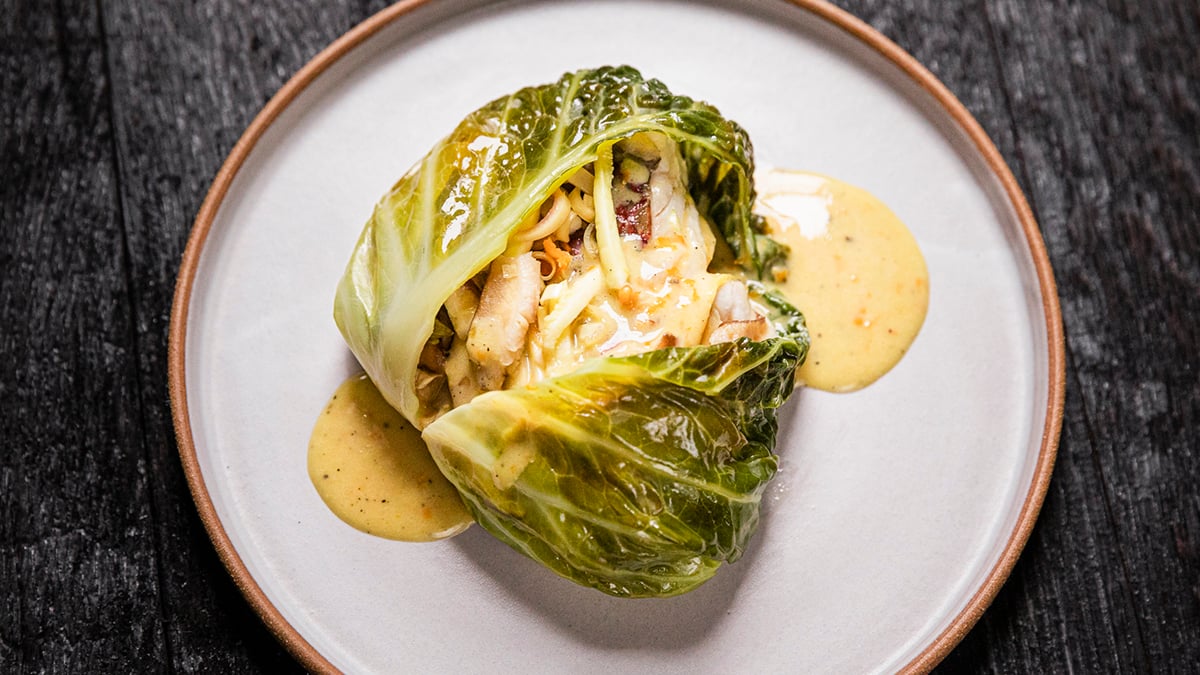
About the Instructor

James Beard Award winning writer and best-selling cookbook author Edward Lee takes viewers from the farm to his restaurants and home in Louisville, Kentucky and teaches lessons on his beloved dishes including Fried Chicken with Gochujang Sauce, Oysters and Grits, Cabbage-Steamed Fish, and more.