- Condiments
- •
- American
- •
- Comfort
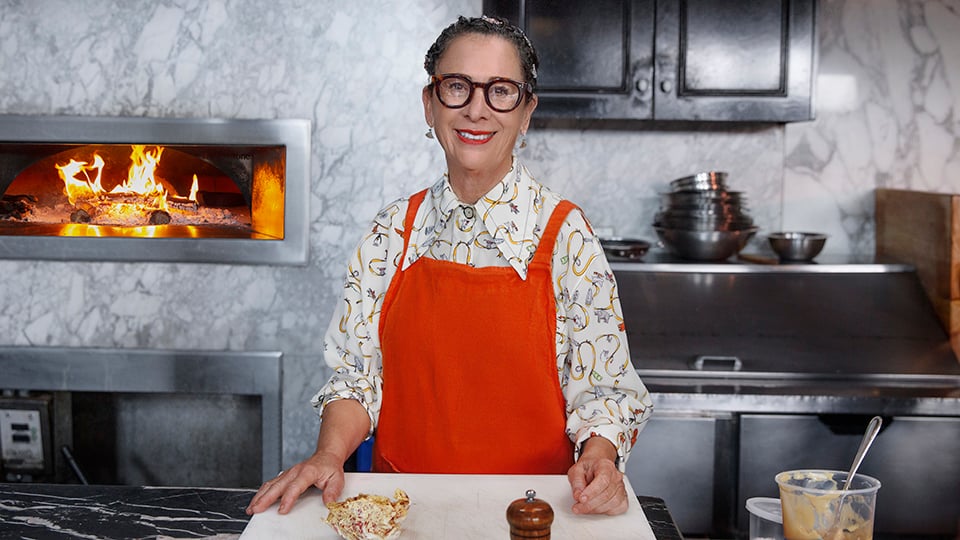
Video time: 40 min
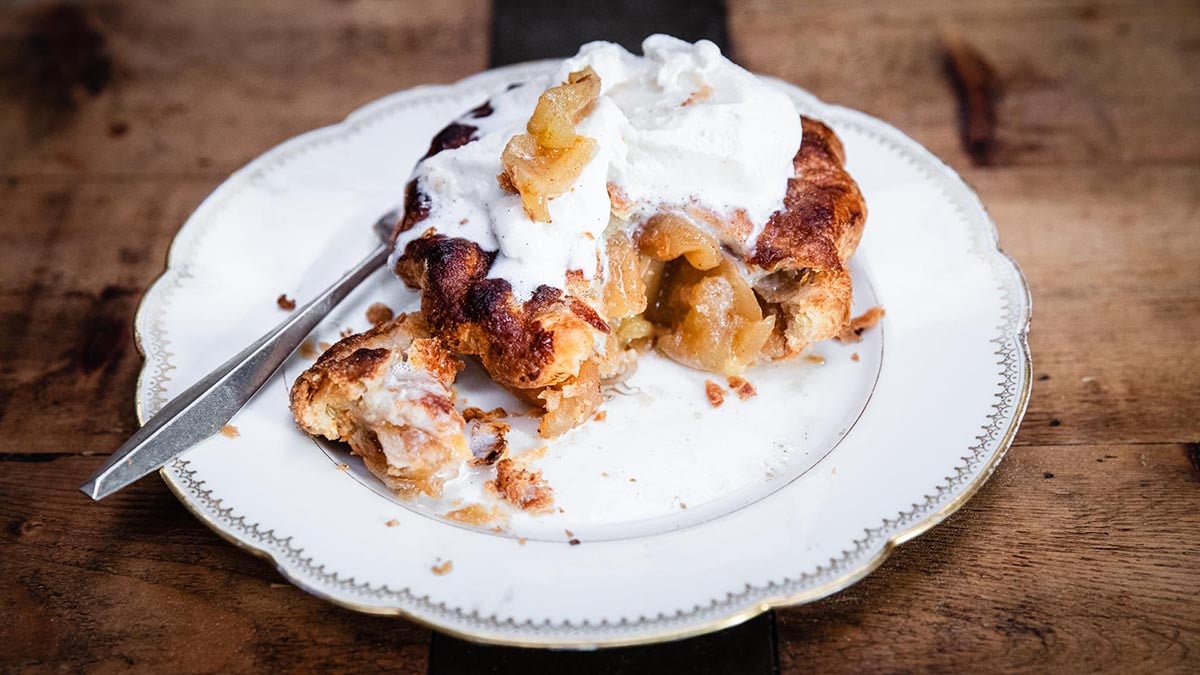
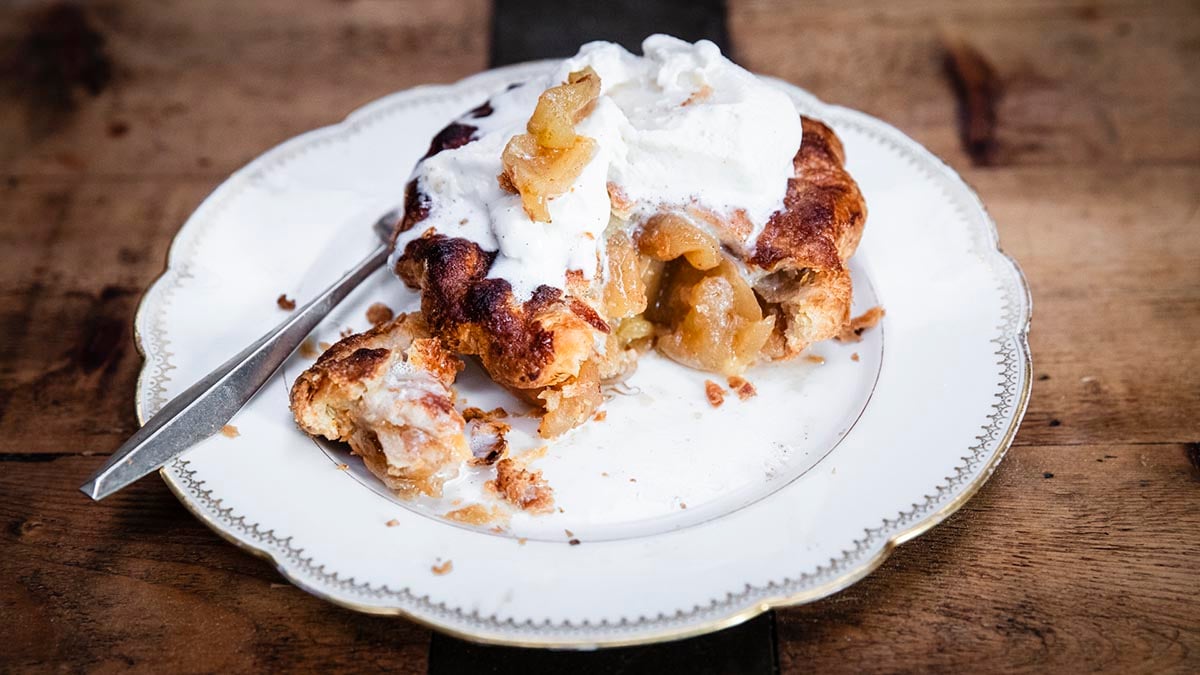
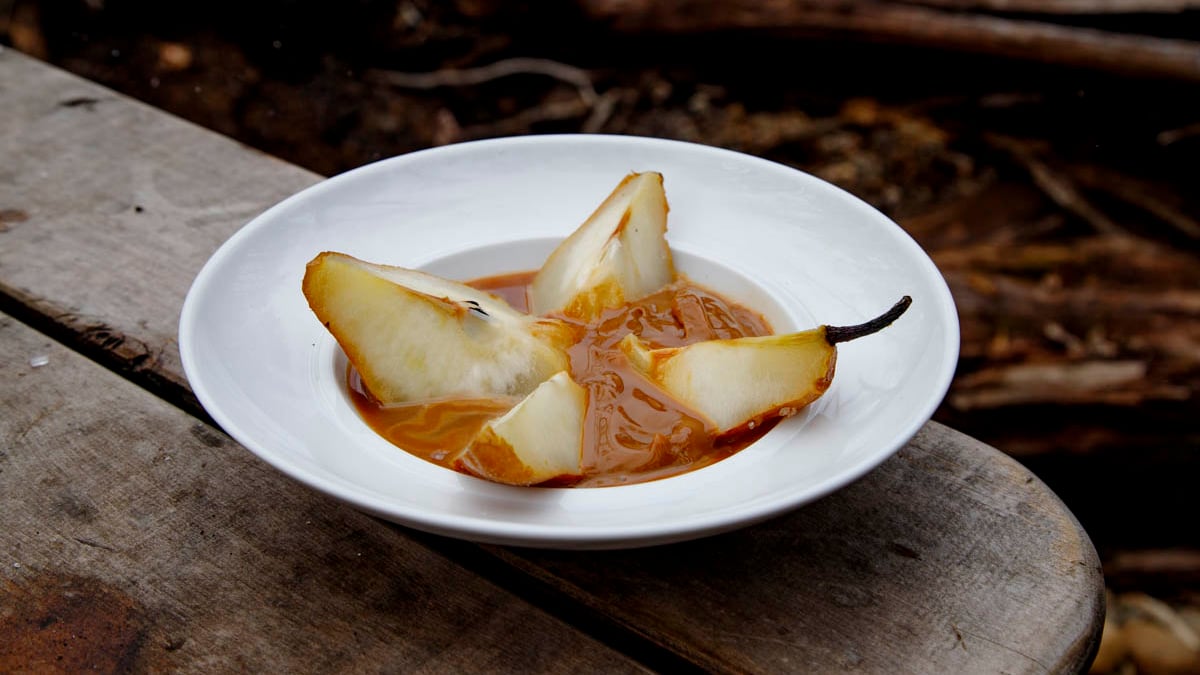
Join Nancy Silverton and learn how to bake Mom's Apple Pie with sautéed apples and vanilla gelato tonight.
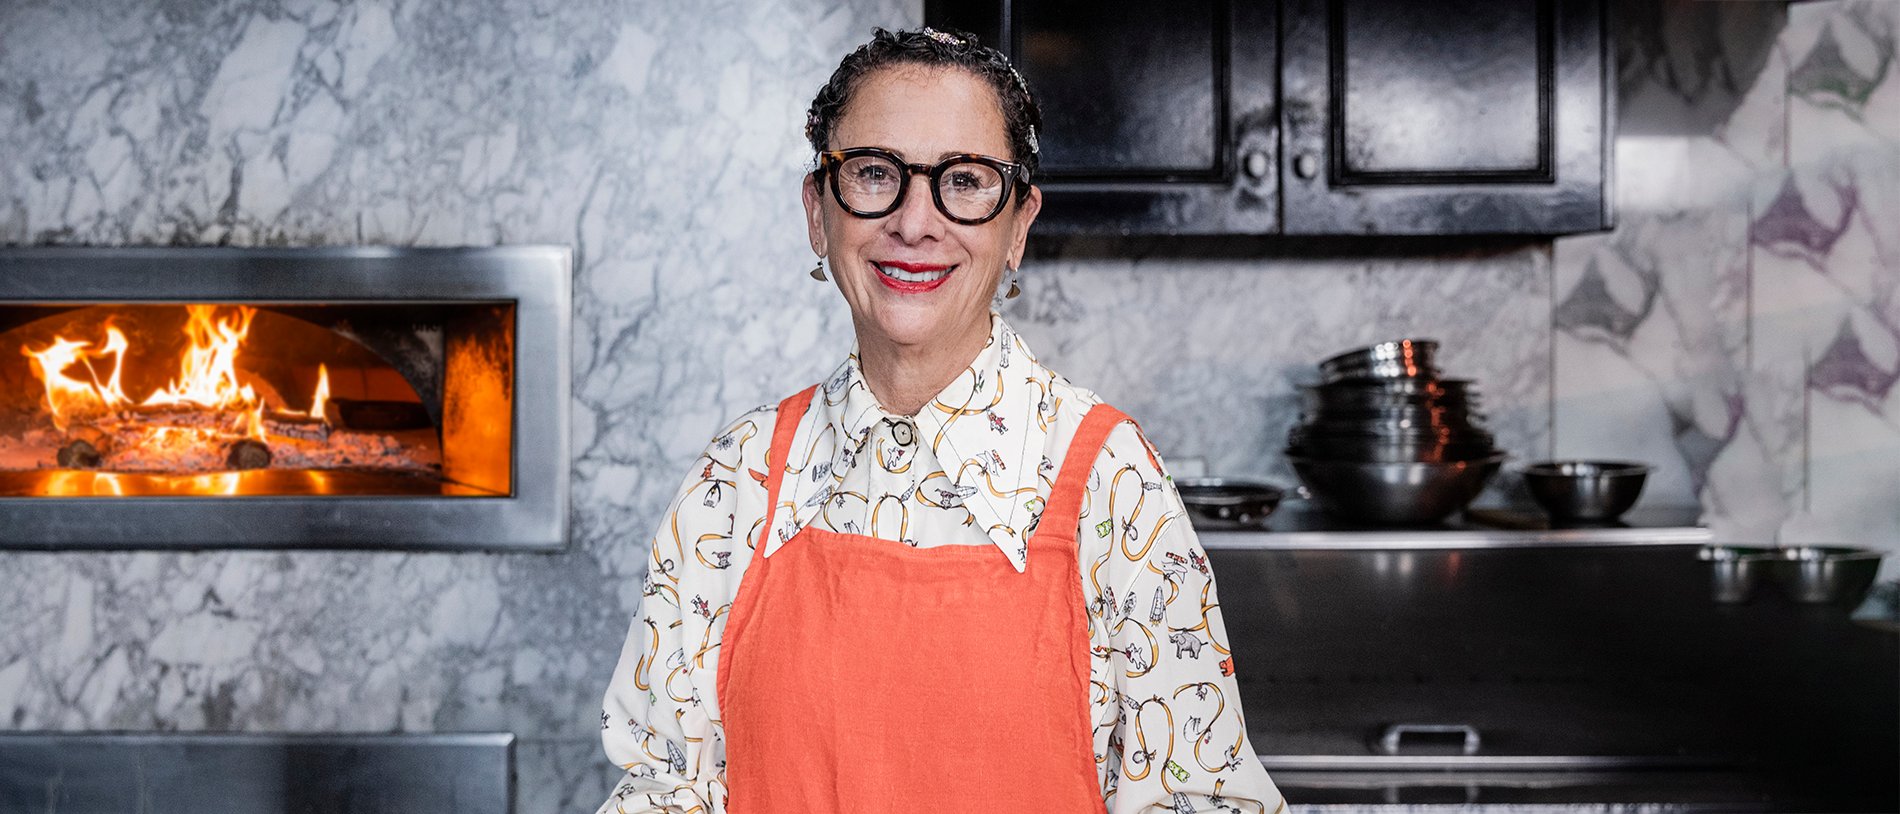
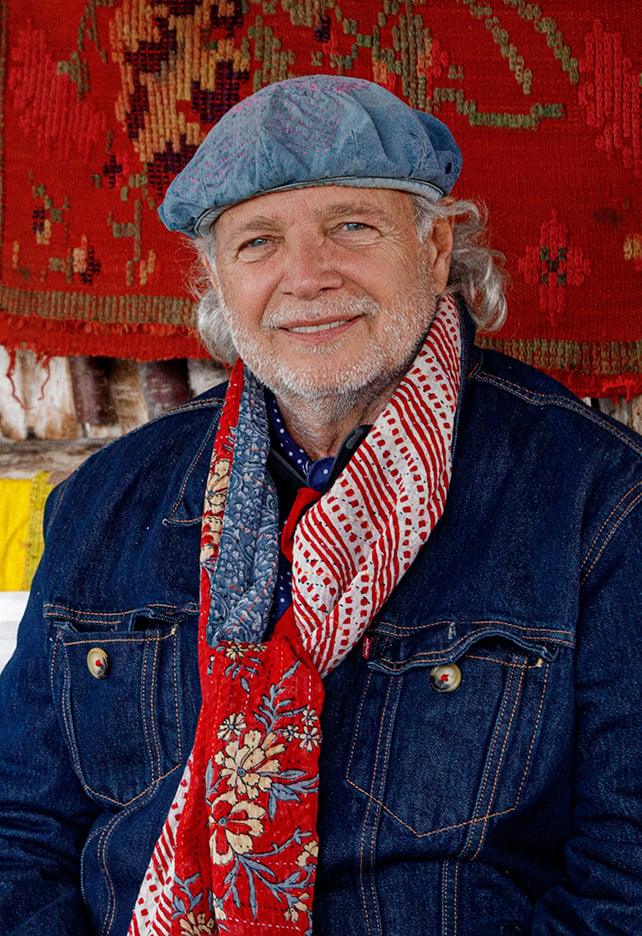
Nancy Silverton
In this lesson


What you'll learn
Learn the virtue of patience and waiting when baking because sometimes a great product takes time to make.
Each pie bursts with a heaping cupful of sautéed apples. Nancy loves to top each pie with a big mound of vanilla gelato, and so should you.
Peel, chop, sautée, and caramelize an extraordinary amount of apples. Pack it all in a delicious pie.
More from Nancy

You May Also Like

Nancy Silverton
Nancy Silverton
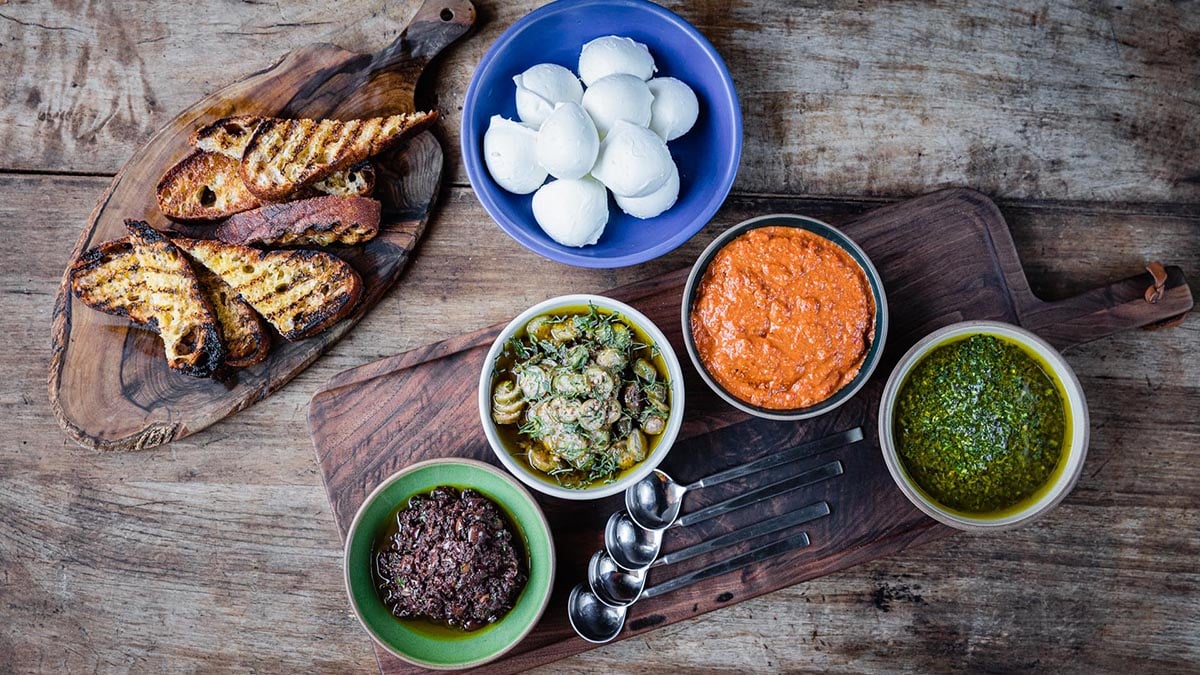
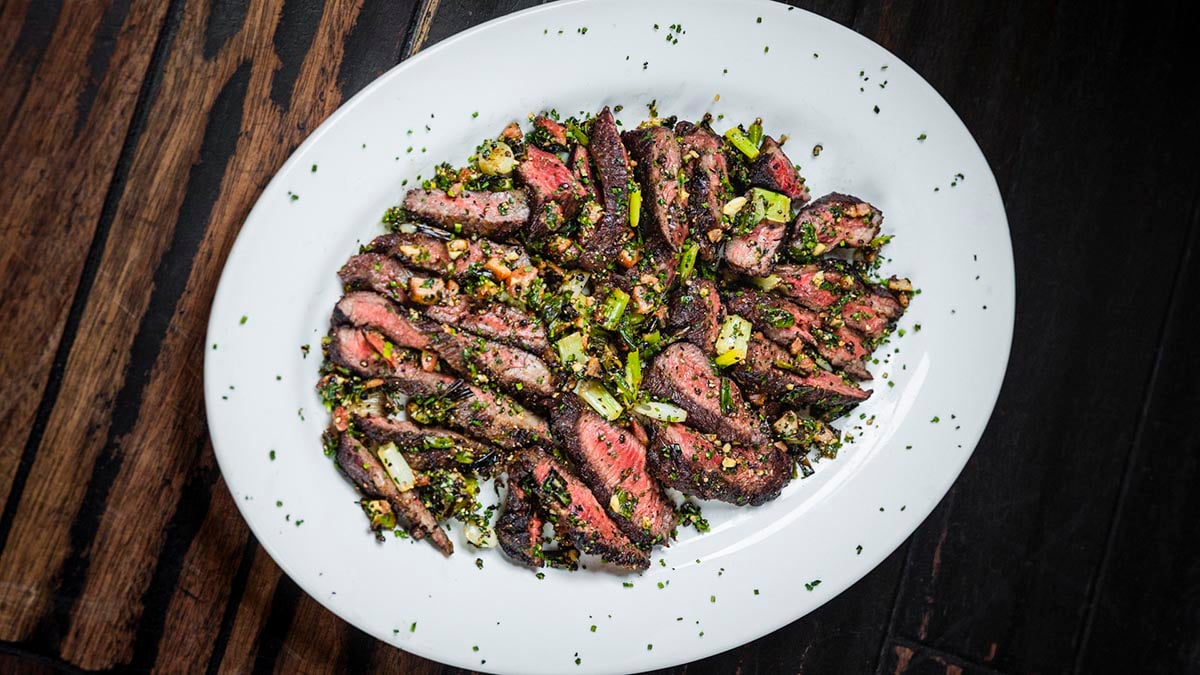
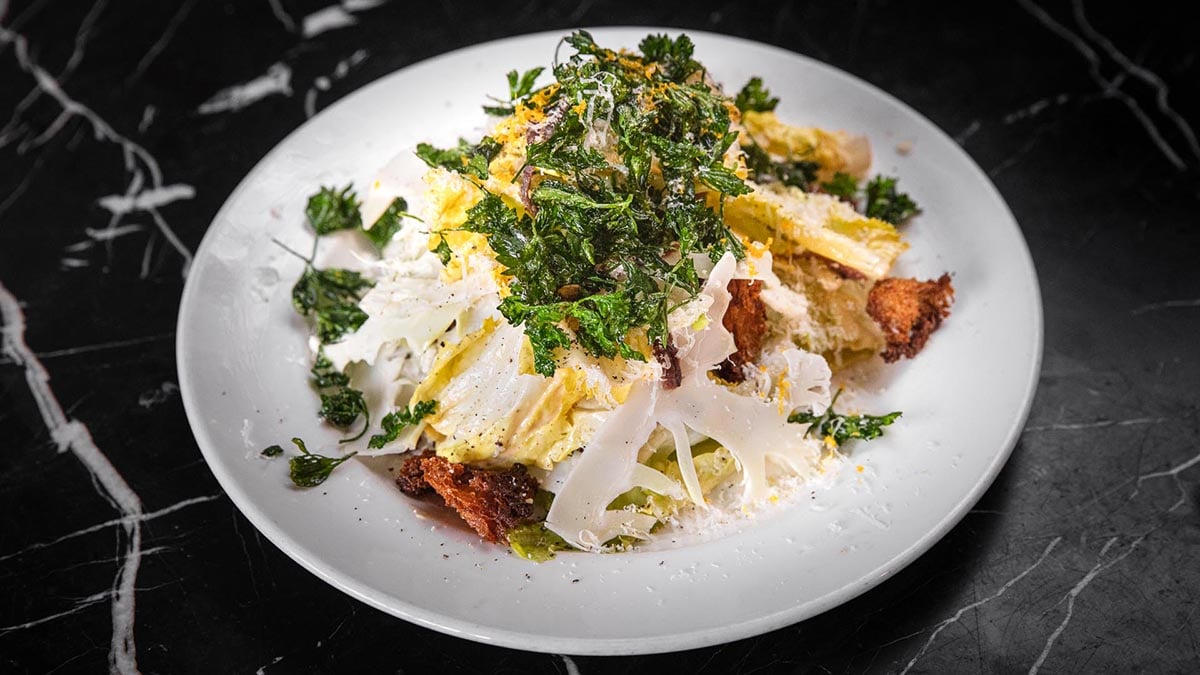
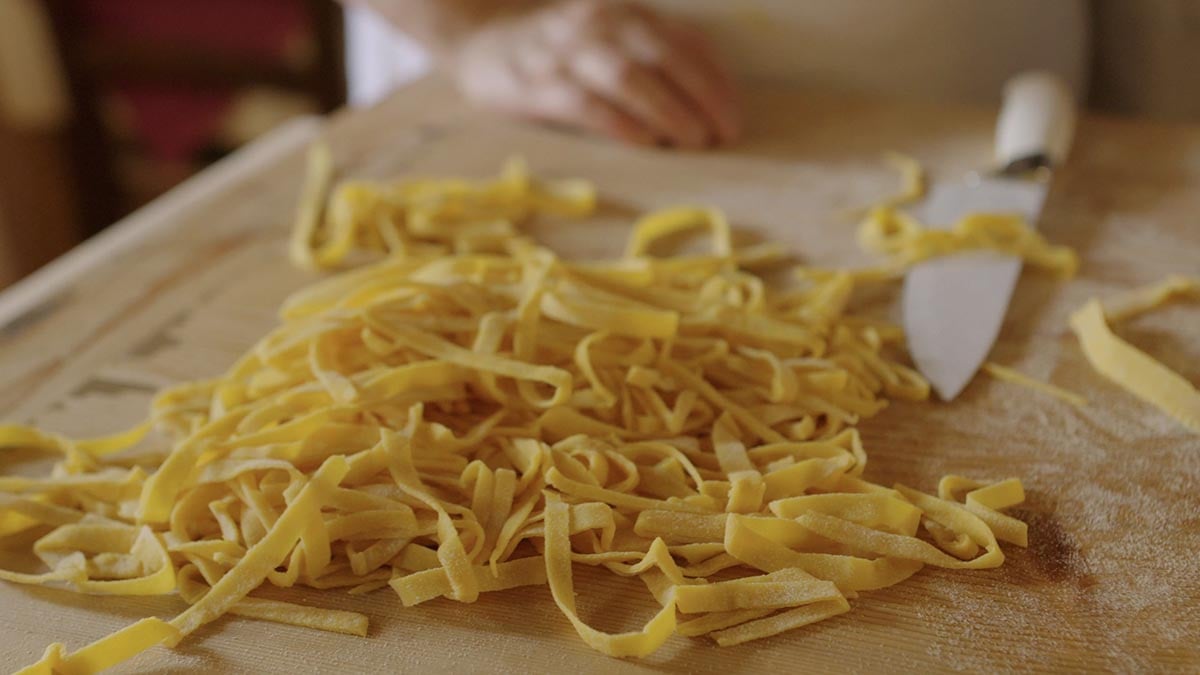
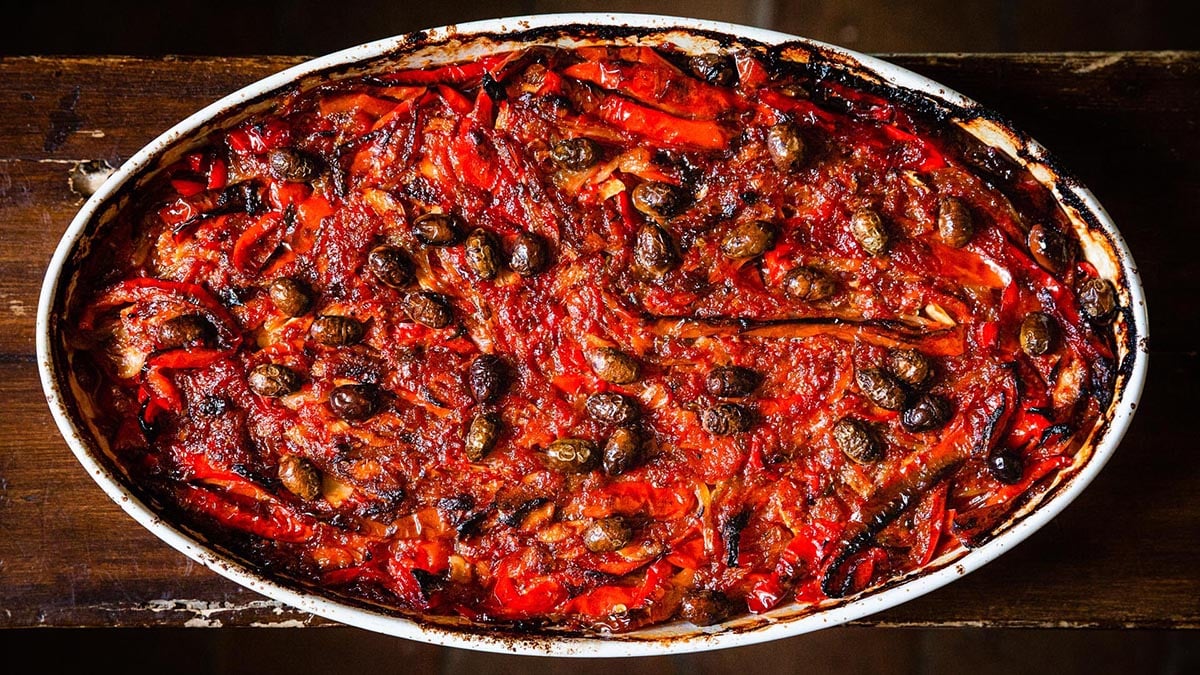
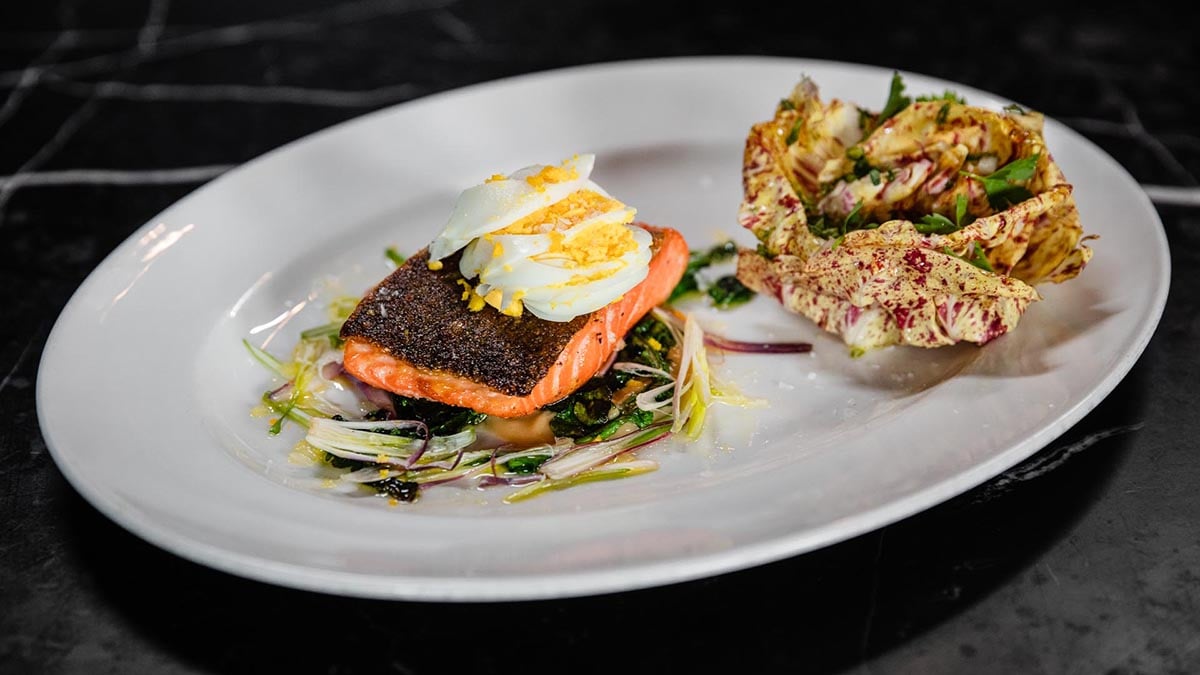
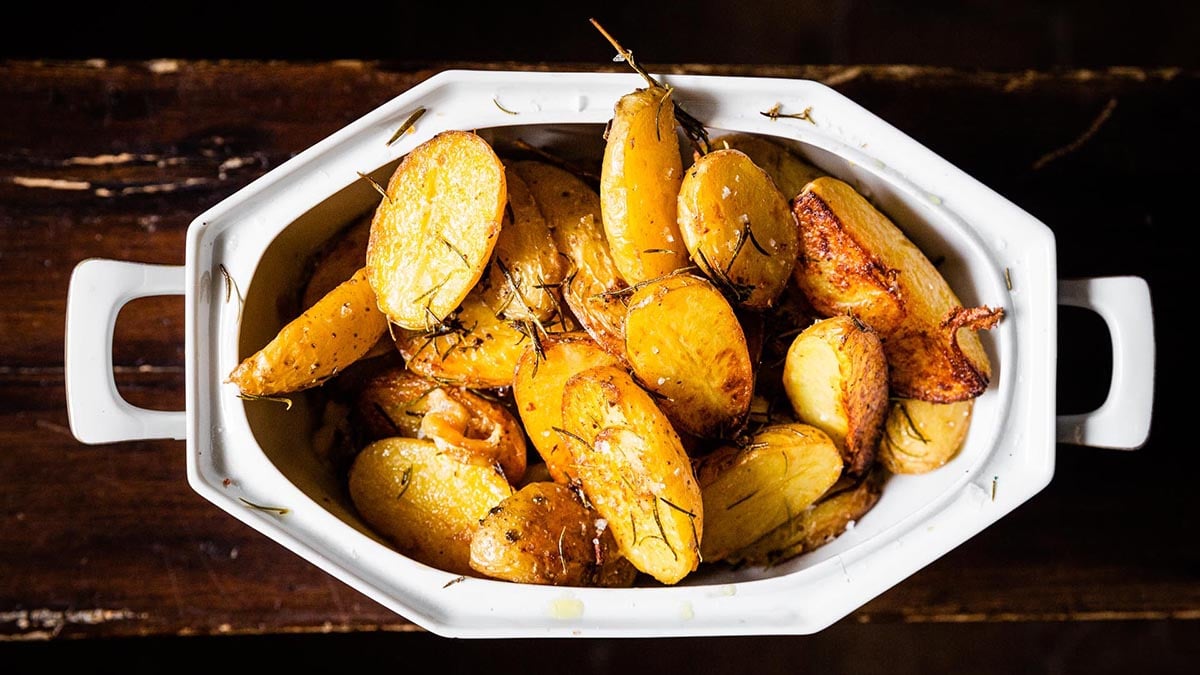
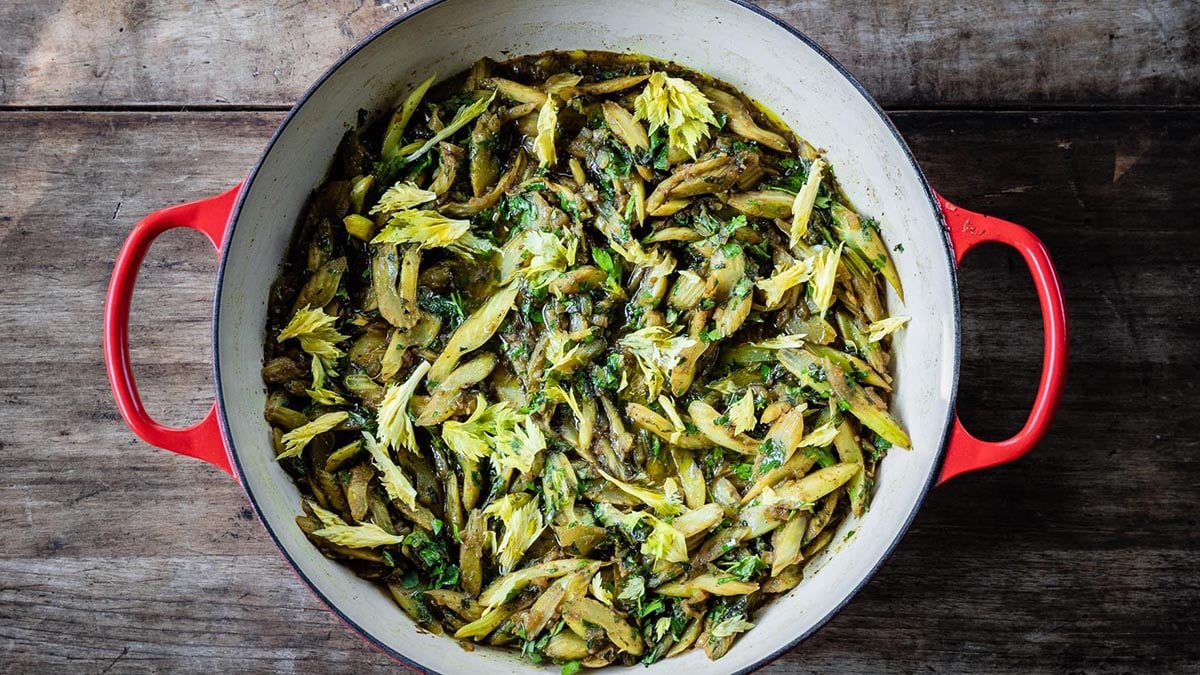
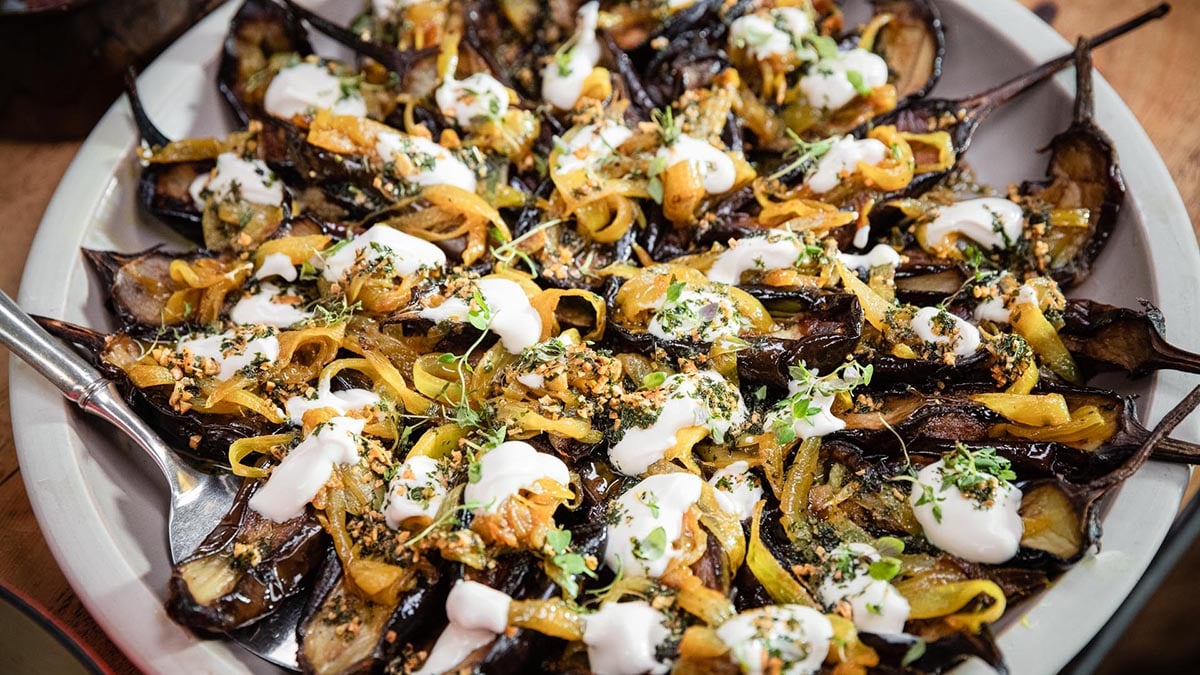
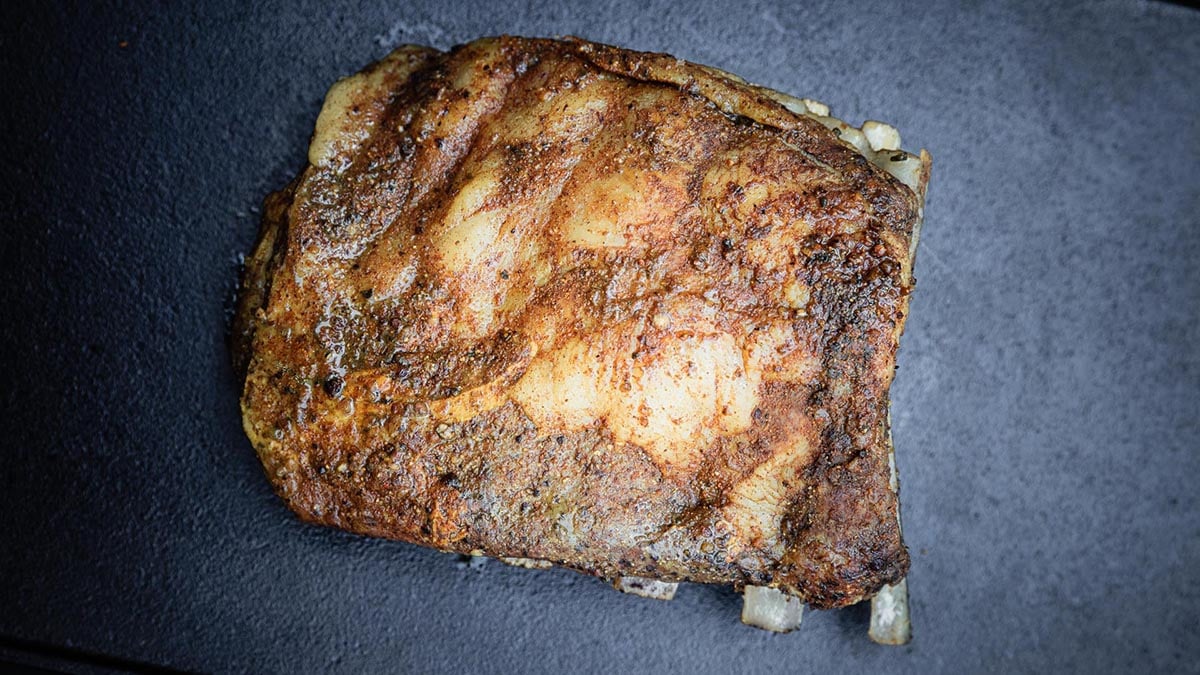
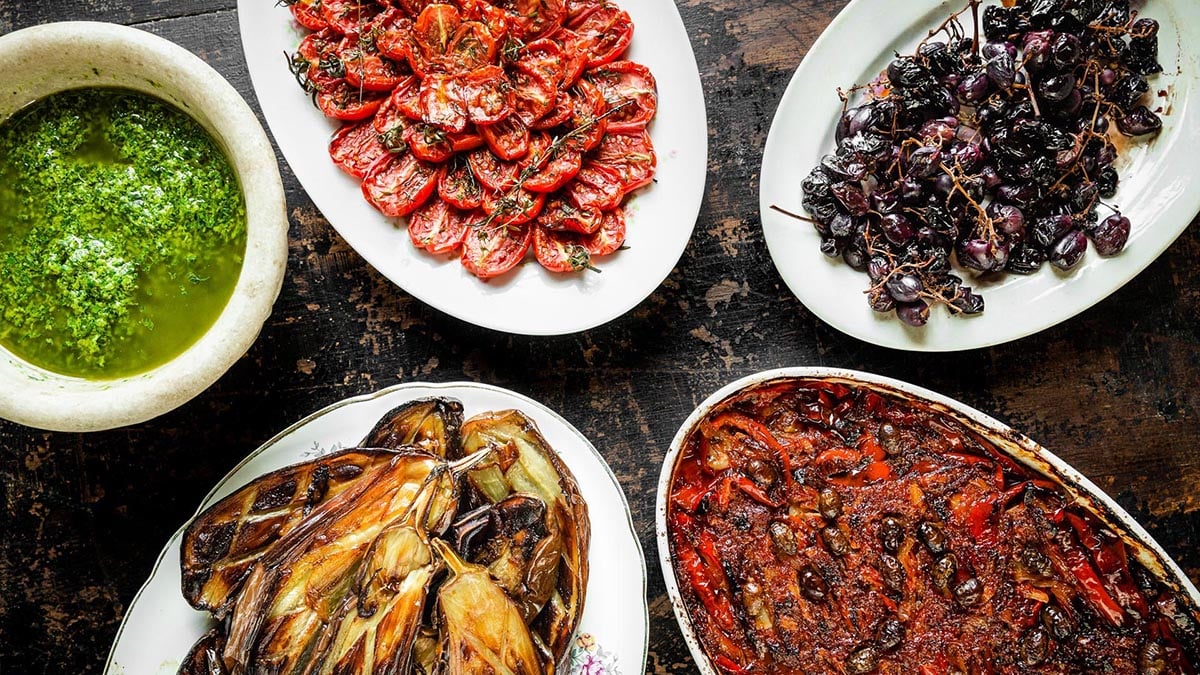
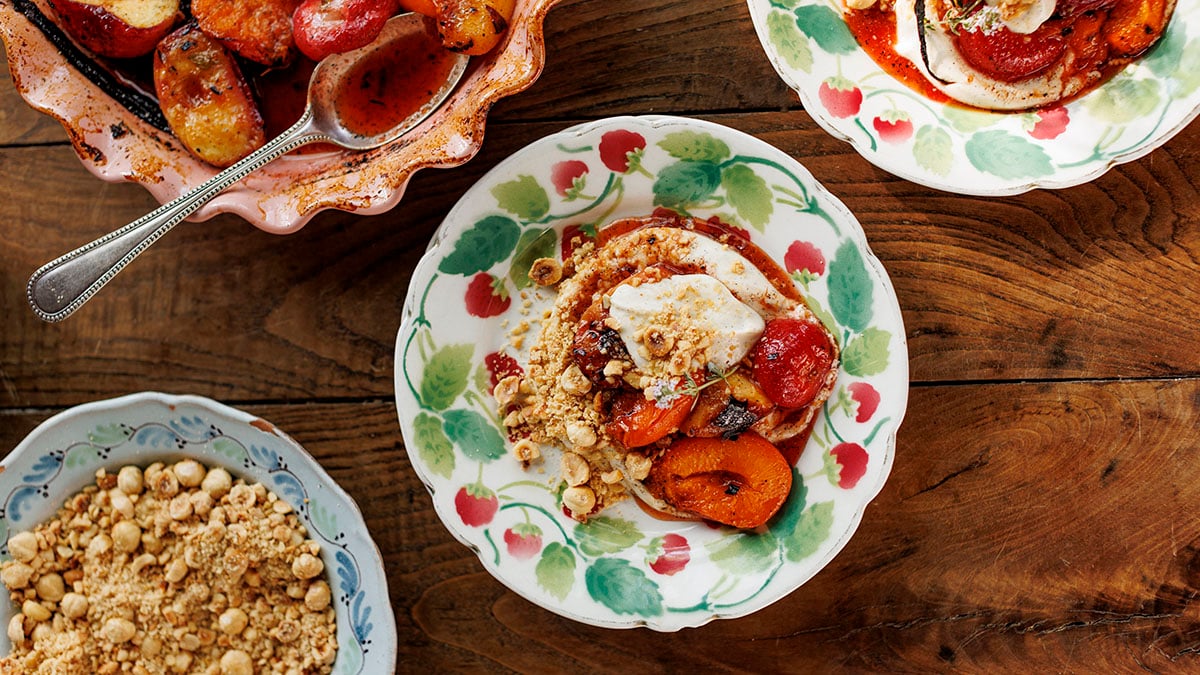
Nancy Silverton’s pitch-perfect palate leads her on an endless quest to make the most delicious food possible. Join the celebrated chef, author, and restaurateur, on a tasty adventure inside her inspiring kitchens in Panicale, Italy, and Los Angeles, California. Learn a lifetime of knowledge as Nancy teaches over 40 signature dishes and techniques, including her Caesar and other salads, Chi Spacca Pepper Steak, roasted veggies, and Mom’s Apple Pie.
-
 Edward LeeTeaches his Southern cuisine
 -
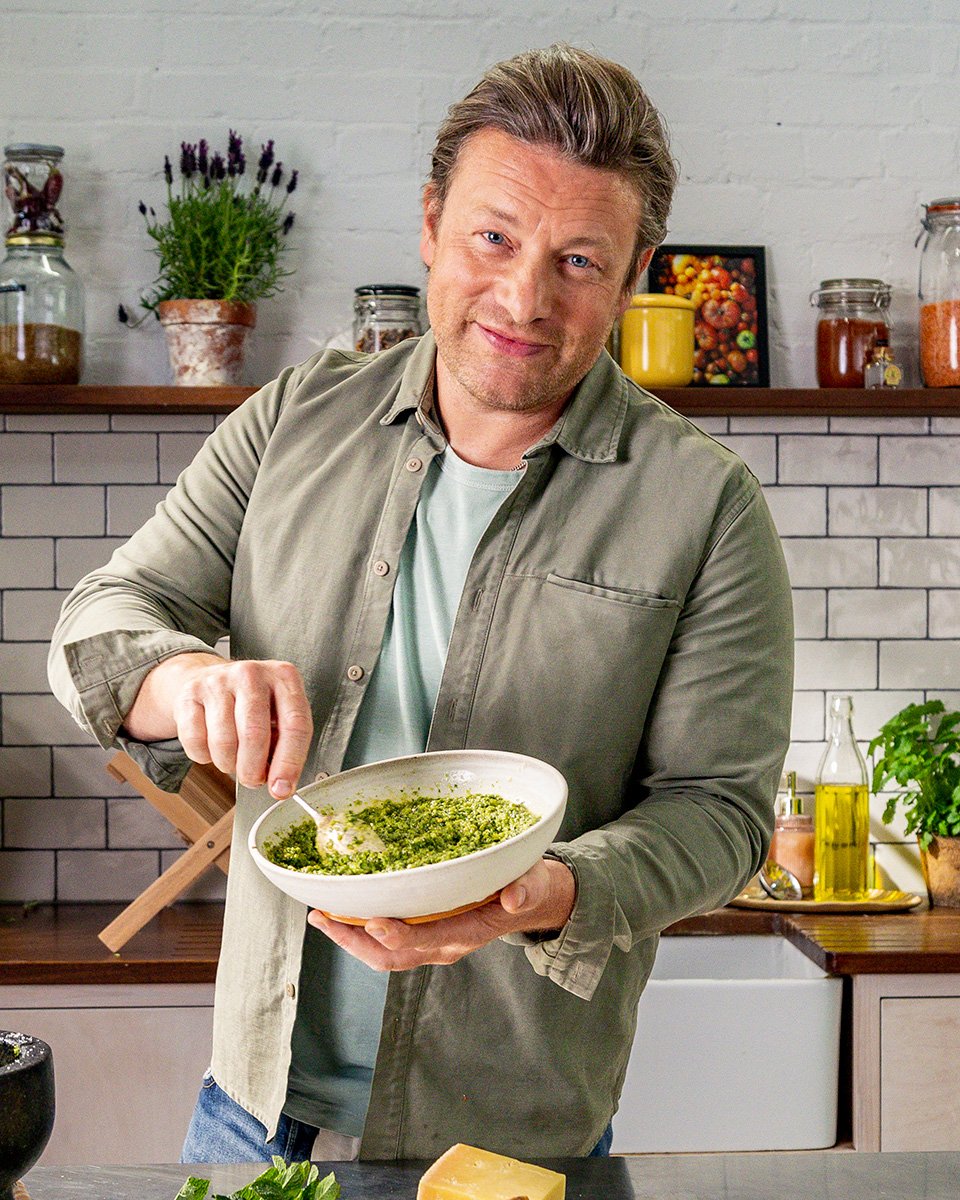 Jamie OliverTeaches his Home Cooking
 -
 Kwame OnwuachiTeaches his Caribbean cuisine
 -
 Erez KomarovskyTeaches his Middle Eastern cuisine
 -
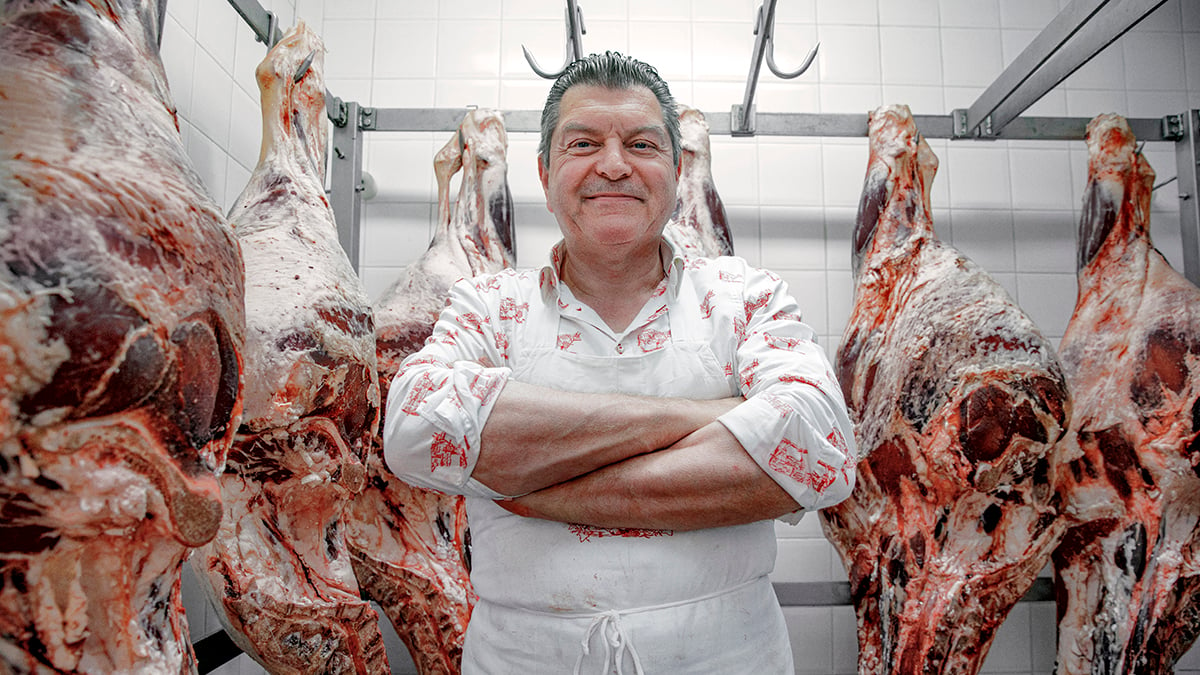
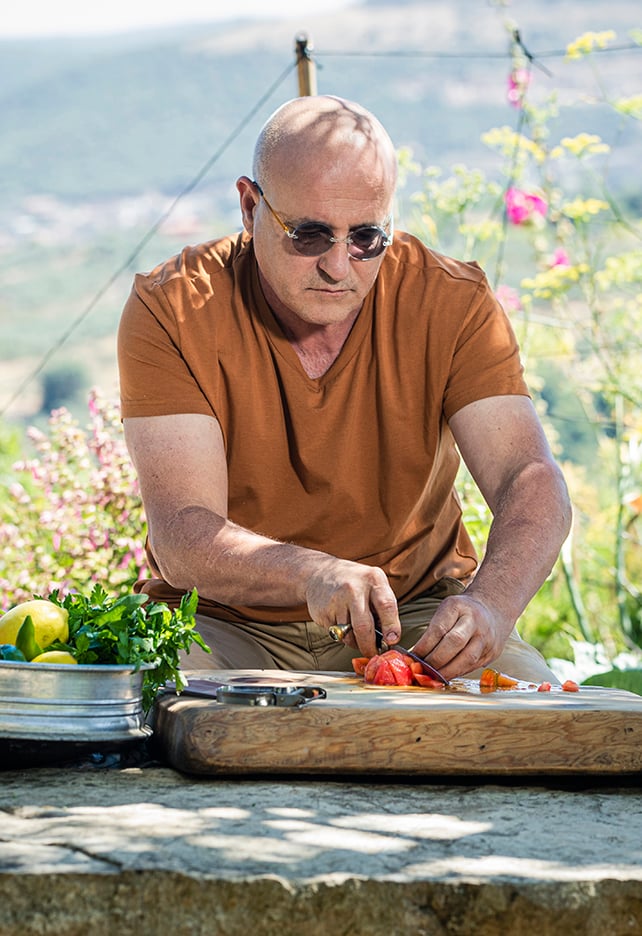
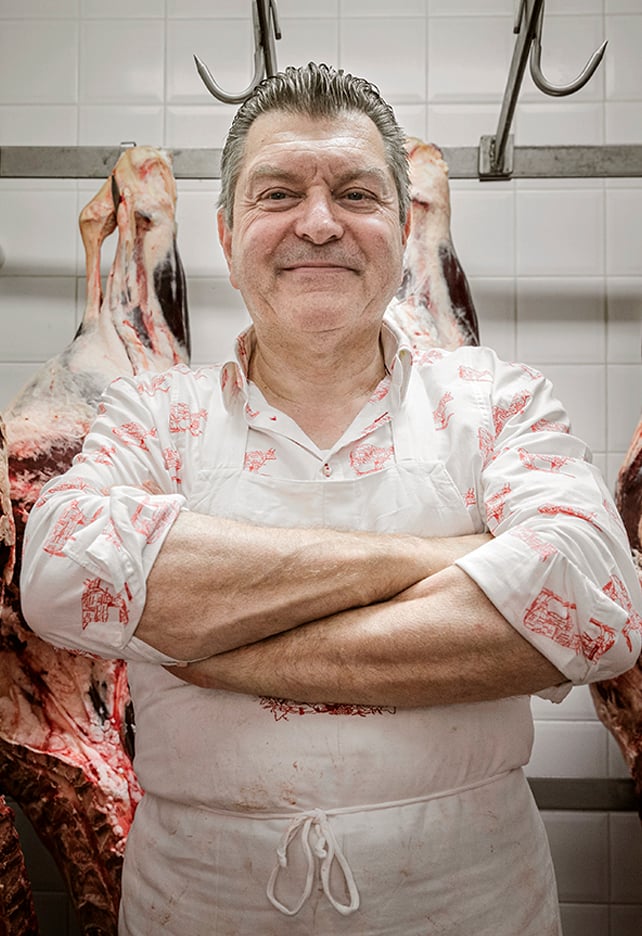 Dario CecchiniTeaches his Tuscan Grilling cuisine
 -
 Francis MallmannTeaches his Argentine cuisine
 -
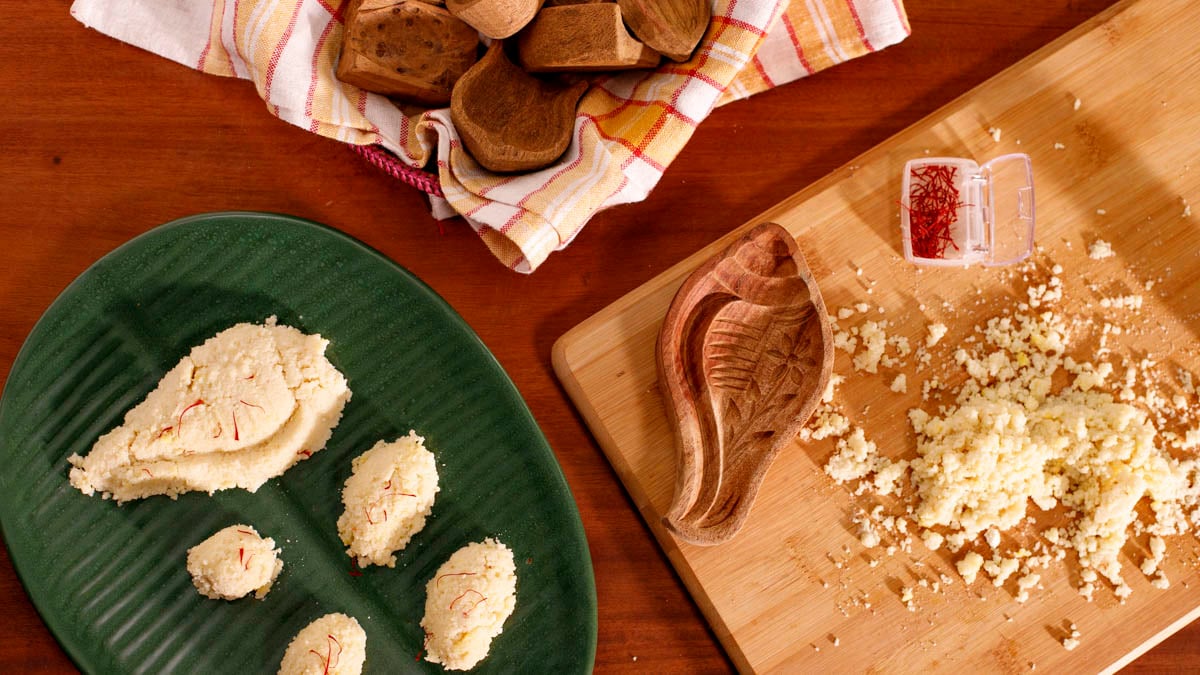
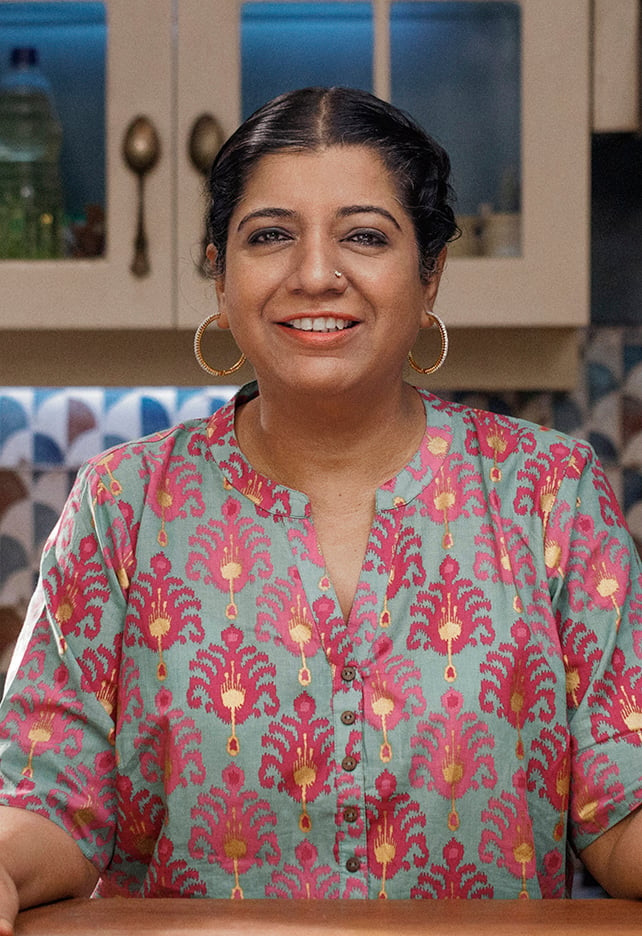 Asma KhanTeaches her Indian cuisine
What our students have to say
Still Have Questions?
General Questions
YesChef is the streaming platform for cooking that lets anyone watch video lessons taught by internationally renowned chefs.
Discover classes that take you on a global culinary adventure, from Italy to California, Argentina to India, Jamaica to Israel, and more, as you learn how to make the world's most delicious food at home.
YesChef delivers a world-class online learning experience for cooking, and lets you stream our video lessons anytime, from anywhere on your smartphone, computer, tablet and TV.
Watch, learn and cook as you create the most delicious food in the world at home, starting right now.
YesChef classes take you on a global culinary journey to discover, access, and learn from the world's most influential chefs. YesChef classes combine rich, cinematic storytelling with immersive, hands-on learning experiences to deliver an experience that is equally inspirational and educational.
We believe that the best teachers are storytellers, which is why we partner with renowned chefs who have shaped the modern gastronomic landscape. Each chef shares their life experiences, culinary knowledge and signature dishes in every exclusive YesChef class.
We work closely with every chef to craft an educational experience that is personal to each, which is why every class is different and unique.
Instead of a boring studio, we travel to the home and city of every chef to deliver a truly intimate experience that inspires as much as it teaches.
It takes us about 6 months to produce each class in order to offer the most engaging and impactful experience possible, over 6+ hours of exclusive video content. Every chef shares a lifetime of knowledge and skills, and for the first-time ever, you can learn in a few hours what has taken each a lifetime to master.
YesChef is made for home cooks, so every lesson covers the fundamentals and techniques that allow you to master the art of home cooking, with in-depth culinary knowledge that you can't get anywhere else.
The YesChef membership includes unlimited access to an ever-growing library of exclusive classes taught by the world’s best chefs.
Every class takes you on a globe-trotting, mouth-watering culinary journey, and includes around 12 video lessons that are 22 minutes long on average (7-40 minute range), plus an hour-long cinematic documentary film about the life, food and culture of each chef and location.
You also get access to a PDF cookbook, step-by-step guided lessons, detailed recipes and the ability to easily jump back to specific moments in every video.
Watch on your smartphone, computer, tablet and TV, anytime, anywhere.
If you want to improve your cooking skills, learn how to make the best food in the world, and discover the techniques that will take your kitchen game to the next level, YesChef is for you.
If you want to learn from the best chefs, YesChef is for you.
If you want to travel the world and discover the tastiest cuisines you can actually make at home, YesChef is for you.
If you've been wanting to learn more about food and cooking for a while, but haven't had the time or access to learning it, YesChef is for you.
If you like doing things at your own pace and in whatever free time you have, YesChef is for you.
If you are looking for an effective, engaging and inspiring educational experience for cooking, YesChef is for you.
If you are tired with blindly following recipes and want to learn techniques, skills and knowledge, YesChef is for you.
If you want to learn how to make the most delicious food in the world at home, YesChef is for you.
If you want to discover the stories, background and history behind the world's greatest chefs, YesChef is for you.
If you want to wow your family and friends with amazing recipes for every occasion, YesChef is for you.
YesChef lets you watch, learn and cook anytime, anywhere, from your smartphone, computer, tablet or TV. Every membership includes unlimited streaming and access to our ever-growing library of classes by the world's best chefs.
Classes
Other online classes are boring and uninspiring - YesChef transports you to the culinary capitals of the world in an immersive and inspiring experience that teaches you the fundamentals of cooking through the eyes of each celebrated chef.
Every YesChef class takes you on a globe-trotting, mouth-watering culinary journey, and includes around 12 video lessons that are 22 minutes long on average (7-40 minute range), plus an hour-long cinematic documentary film about the life, food and culture of each chef and location.
You also get access to a PDF cookbook, step-by-step guided lessons, detailed recipes and the ability to easily jump back to specific moments in every video.
YesChef is for anyone who loves food and cooking, regardless of your skill level, age or experience. Yeschef offers a growing library of classes across various cuisines, from Italian, American, Argentinian, Israeli, Indian, Jamaican and more. But it's also much more than that, as each chef imparts the culinary knowledge it took them a lifetime to master.
Every class has been designed to be accessible for students just starting out and experienced home cooks alike, with exclusive access to the skills, techniques and recipes that made each famous.
With new classes released regulary, you can continue to get inspired, learn new cuisines, and discover the best of the world of food every day.
Check out our library of classes and watch a few trailers now!
YesChef is for everyone! We believe anyone can cook. We created YesChef to make it possible for students of all skill-levels, interests and experience can get inspired and learn from the world's best chefs.
We design every class to be an educational experience for home cooks of every skill-level, so that regardless of what you already know, you can come away with a new level of understanding around how to cook foods from any cuisine, for any occasion and from anywhere in the world you may be.
YesChef is out to let anyone be free in their home kitchens and gain the confidence to just get cooking - and make the world's most delicious food at home.
Subscription
We’re out to deliver the best learning experience possible for home cooking - and back it up with a 100% satisfaction guarantee!
If YesChef isn't for you, you can get a full refund within the first 30 days of the initial purchase of your subscription.
You can cancel your membership renewal at any time from your user profile, and your membership will not renew. Please note there are no refunds for partially unused membership periods.
If you have more questions, check out our support page or chat with us. We are happy to help in any way we can!
First of all: Best Gift Ever.
Here's how:
- Sign up with your own email
- Select “This is a gift” checkbox on checkout
After you complete the purchase, we’ll send you the gift card in an email which you can forward to the gift recipient whenever you are ready.
