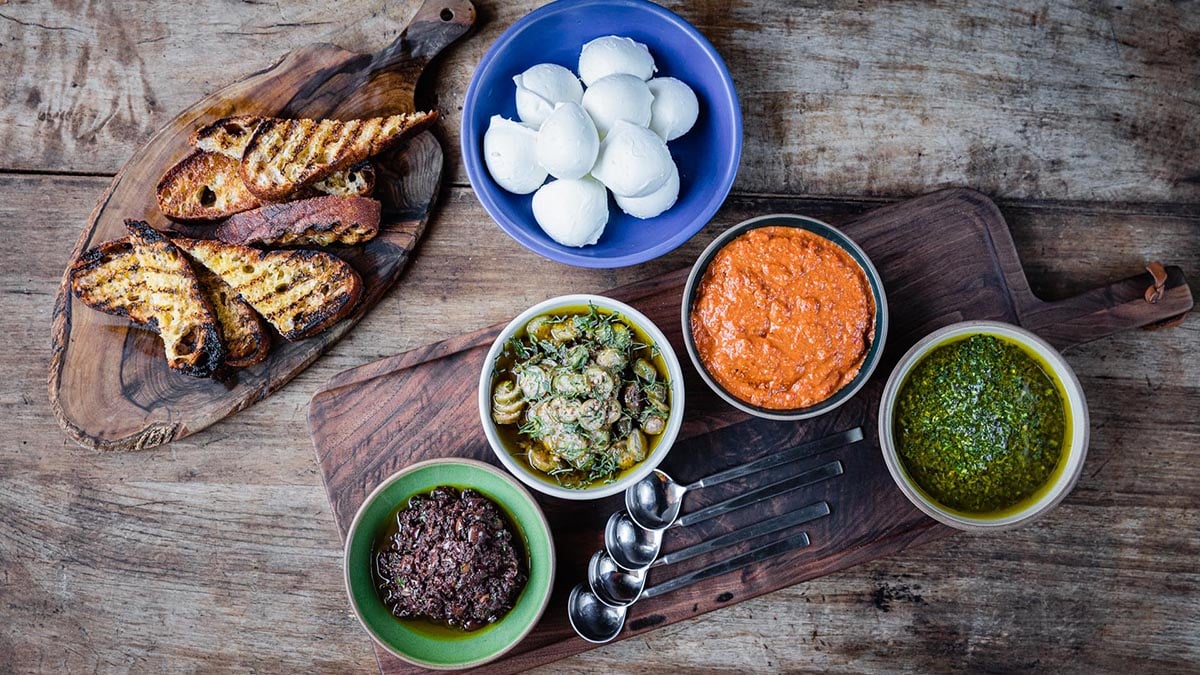
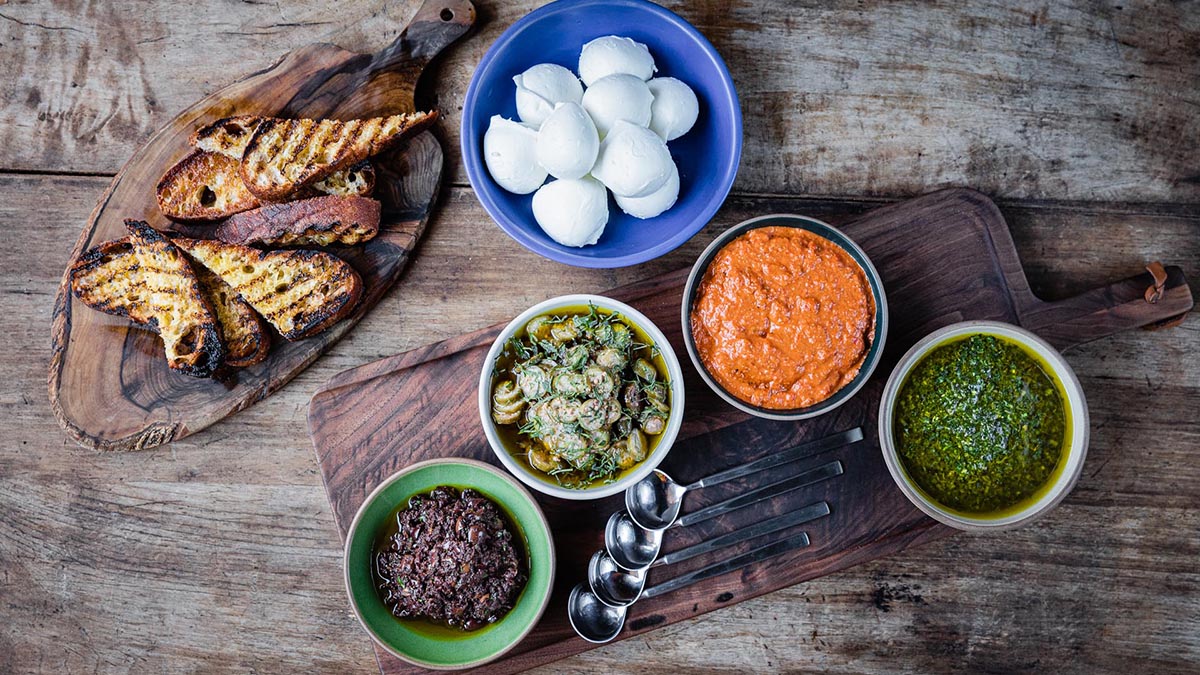
Doing a little mini mozzarella bar.
I am making one of the best Italian recipes
and satisfying that I can think of.
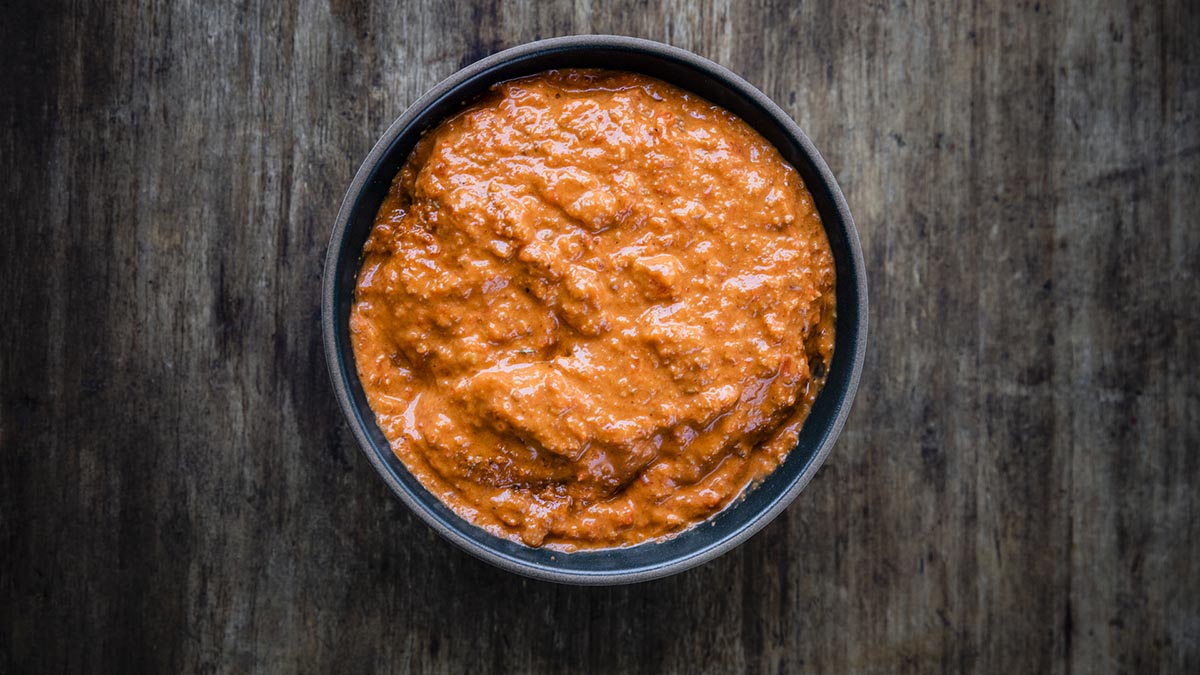
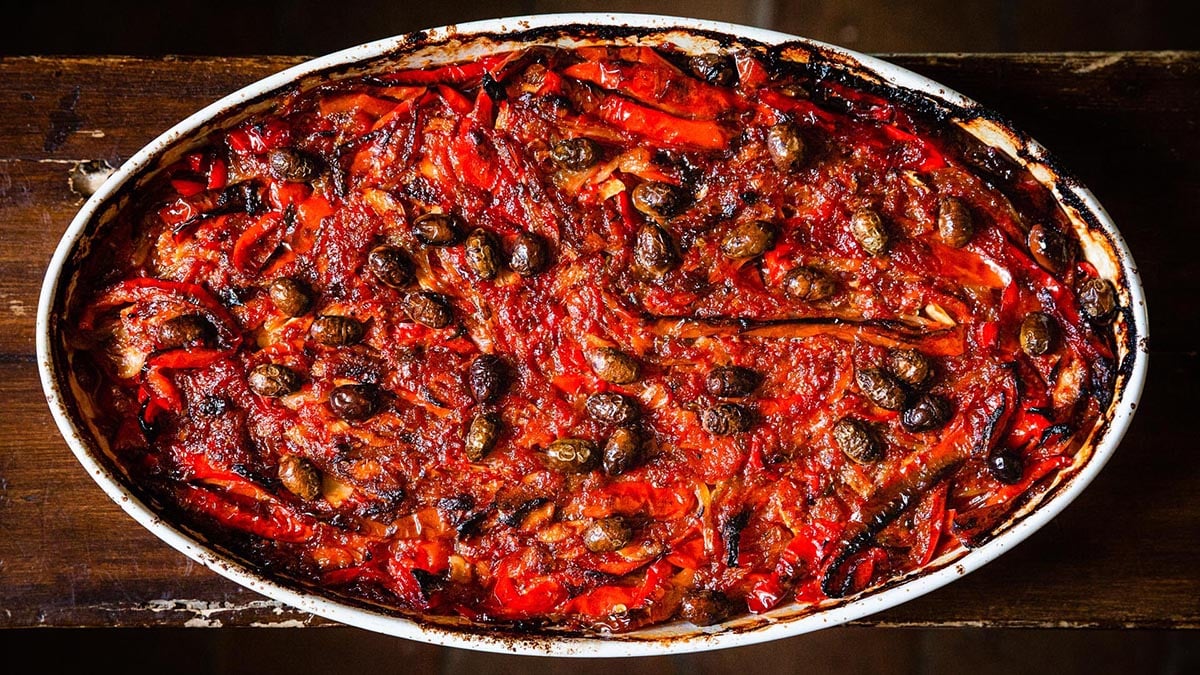
So I’m doing a salsa romesco,
which is a Spanish red pepper sauce.
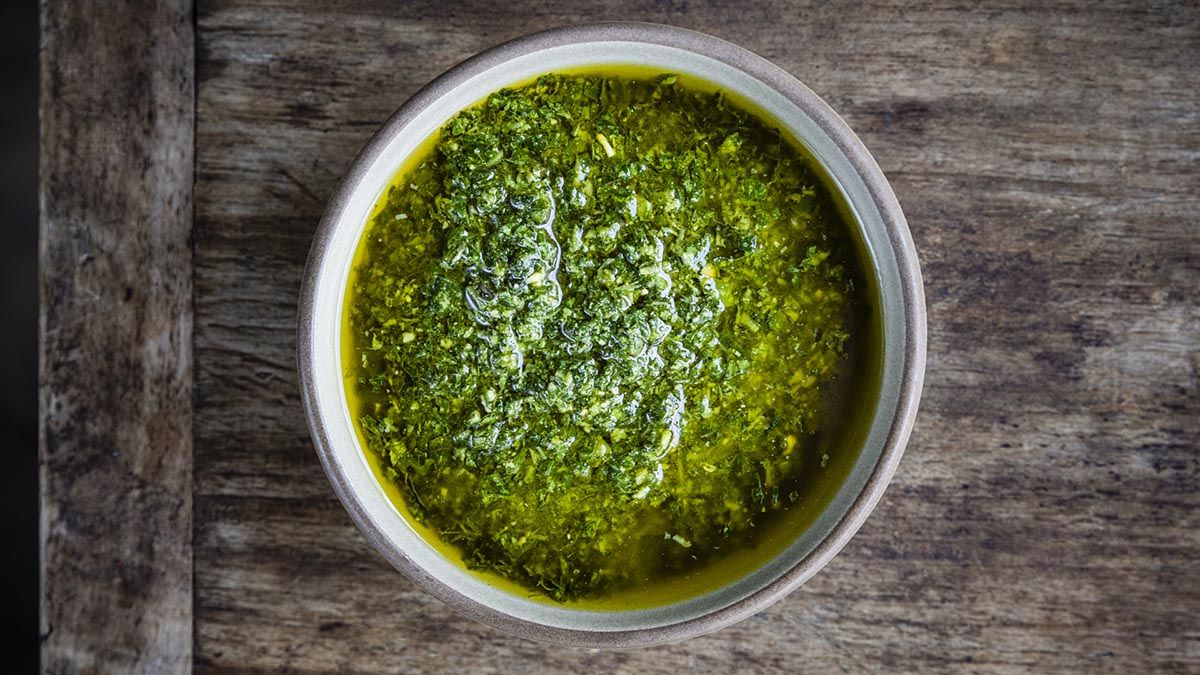
I’m doing an Italian inspired basil pesto.
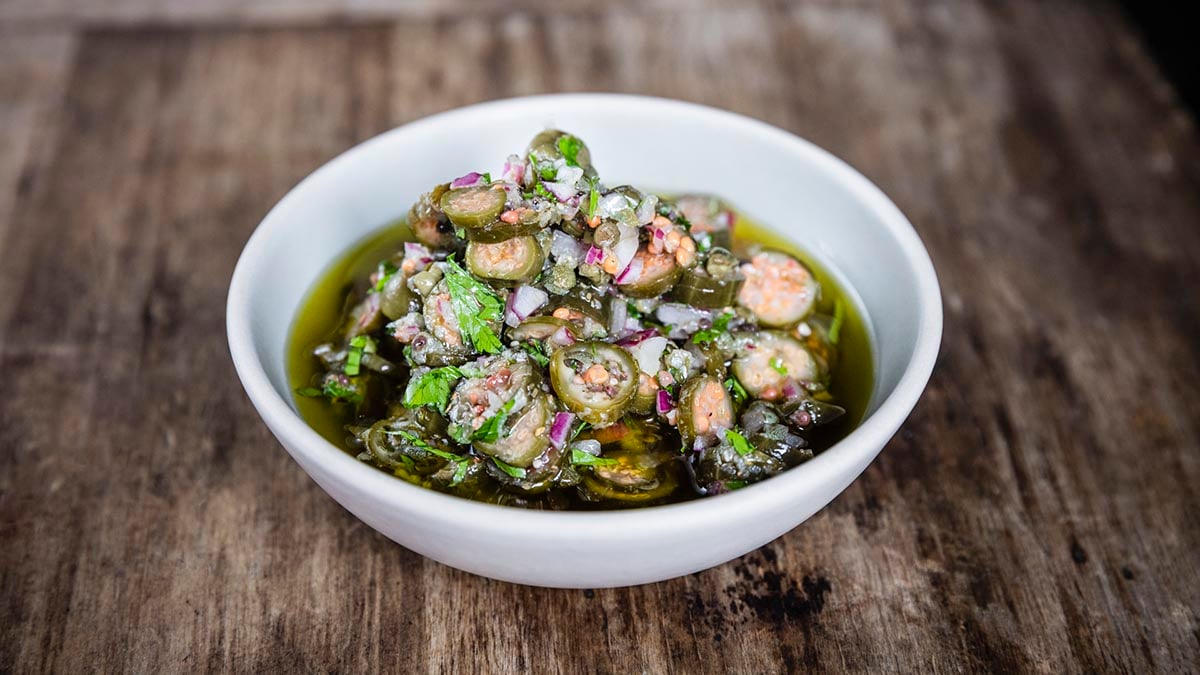
I’m doing a caperberry relish,
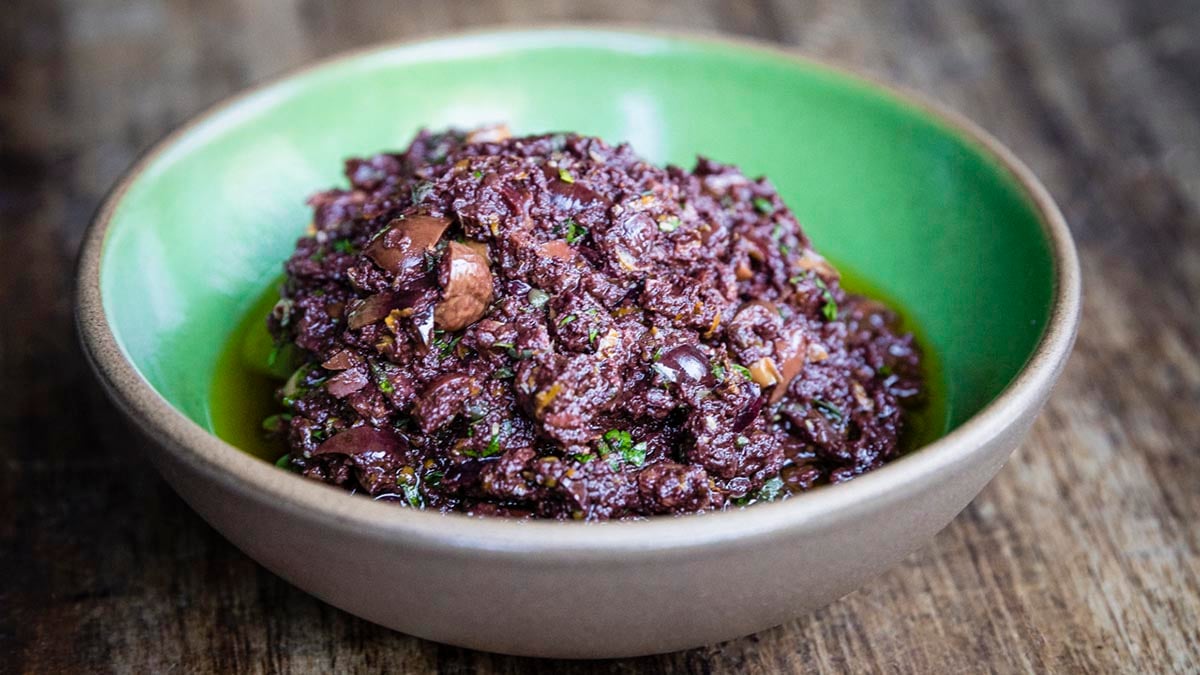
and I’m doing a black olive tapenade,
which is, for the most part, kind of a French condiment.
All right.
So I’m going to start out by charring my peppers,
which I’m going to do directly
over the flame until they’re completely black on all sides.
So while my peppers are going,
I’m going to toast the nuts that I need for the romesco,
that’s going to be hazelnuts and almonds.
And then at the same time,
I’m going to toast pine nuts that I’m going to be using
for the basil pesto, which is the second sauce.
(calm nothing)
(nuts rattling)
So I’m going to toast these nuts,
both in the romesco and in the basil pesto.
All right, caperberry relish.
I’m going to soak some capers for the caperberry relish.
The capers that I really like to use are capers
that are preserved in salt.
And because they are preserved in salt,
to use them, you’ve got to soak them in water
to rinse off that salt.
I usually do this for about 15 minutes.
So in the caperberry relish,
I am going to use both the bud,
which is the little caper buds,
but I’m also going to be using the more mature berries.
And these, I don’t have to soak.
And I’m going to slice these up.
These caperberries are from Spain
and usually I don’t think I’ve ever seen
Italian caperberries for some reason,
’cause they certainly grow there, but I haven’t seen them.
They usually always come from Spain.
So caperberries and capers come from the same bush.
The more traditional caper is the bud.
And this is the berry.
(knife chopping)
This is my scrap bowl.
I just want to cover this.
It’s just so it can start to sweat.
I’m going to give this just a rough chop.
These are pretty small,
so I’m not going to chop them too much.
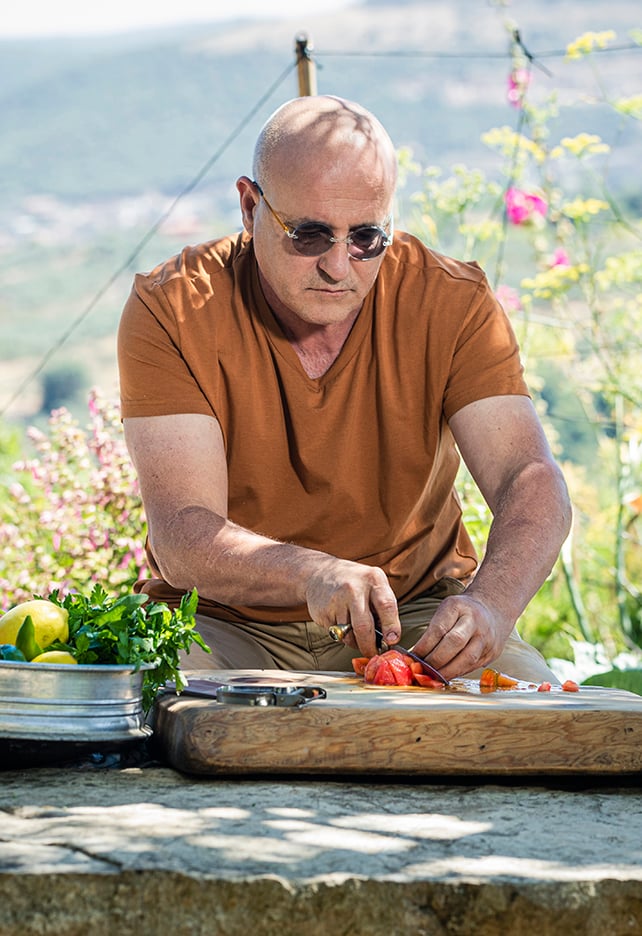
All right, I’m going to mince up a little red onion.
So rather than removing the root or cutting off the root
so I can unpeel the layers of the onion,
in this case, I want to leave that root on
so my onion stays intact.
And to help me mince it,
I’m going to start by cutting the onion
vertically down in small slices.
Cut it across horizontally
into three slices.
And then I’m going to cut the onion across into small dices.
Now I’m also going to have to probably run my knife
through it again to make it even smaller.
But at least this is a headstart.
(knife chopping)
Okay, that’s plenty.
And then I’m just going to run my knife through it.
(knife chopping)
And then I’ll continue with a few more peppers.
I’m going to check on my nuts.
Smell good, nice light toasted color.
So I’ve got my caperberries, my caper buds.
I’ve got minced red onion.
I’m going to add some extra virgin olive oil,
a little champagne vinegar.
I’m going to add a little cracked black pepper.
So this is not actually a pepper mill,
it is a coffee grinder.
And I love buying these coffee grinders for myself
as for gifts because they’re wonderful to grind pepper.
And what I love about them is
that I can do it really coarse.
There’s a setting inside or on the top,
as it is on this one on top.
Sometimes you have to go inside the drawer
and set the grind up from within,
but you can get a really great coarse ground pepper,
and it’s always collected in a drawer.
So you can grind it a little bit ahead of time
and you can really season the way I like to season.
But these are great.
And finally, I need to add a couple cloves of garlic,
which I’m not going to slice.
In this case, I’m going to use a microplane,
which is just perfect for grating garlic.
So I guess before the days of microplanes,
people used garlic presses or minced them finely by hand.
But I find this,
I find using a microplane really the fastest
and the most efficient way to mince or grate garlic.
So I’ve got that.
And then lastly,
I’m going to add a little bit of parsley.
And with this parsley,
I’m actually going to slice it rather than chop it.
You know, sometimes when I finish things with parsley,
I chop it.
But other times I like the look of parsley
when it’s sliced into thin shreds.
So just gather it together.
I already removed the stems.
Kinda just loosely roll it up and slice it into fine slices.
We do this a lot with mint as well.
And this is going to be our first condiment,
caperberry relish.
Okay, my pepper is done.
And then once it’s charred on all sides, really black,
what you want to do is you want to steam those peppers
to not only further cook them,
but it makes it easier to rub off the skin.
So I’m doing a salsa romesco,
which is a Spanish red pepper sauce.
My peppers should be steamed and ready to be peeled.
Skin’s going to come off real easily.
Let me just get another bowl here for the peppers.
Okay, so with the peppers,
you really just want to rub the skins off.
What you don’t want to do is
you don’t want to rinse the peppers under running water,
which many people make the mistake of doing,
because then your peppers are gonna get waterlogged.
So you just want to rub them off.
If you need to rinse your hands, have that bowl of water.
Then we’re going to open them up
and remove the stem and as much of the seeds as you can.
Taking off those few remaining seeds.
So what the burning of the pepper skin,
which you can do over an open flame,
you can do it on a gas grill,
you could also do it on a charcoal grill.
But what it does is that it gives,
imparts a really distinguishable, charred pepper flavor
to the pepper itself.
That’s something you wouldn’t get, say,
if you just sauteed them.
I think we’re good now.
All right, I’ve got my nuts.
Already toasted my hazelnuts and my almonds
and I need to fry some bread.
I’m just going to fry it in some oil.
Just need about four or five slices.
Grab my food processor
while I’m waiting for my oil to heat up.
Let me quickly grab my nuts.
Got my toasted hazelnuts and my toasted almonds.
Just a coarse grind.
And I’m going to add my bread to it once it’s toasted.
Let me run and get my smoked paprika and cayenne out.
So I’ve gotten my paprika, my cayenne, my nuts,
my olive oil.
Trying to toast the bread so it’s crunchy,
so it’ll grind up along with my nuts.
And what it does is that it is a thickener for this sauce.
So the sauce, which is really a spoonable sauce.
Just rip it up a little.
I’m going to start with four slices of bread.
(whirring)
All right, add my clean peppers.
That seems like enough.
A little bit of red wine vinegar.
Little salt.
Little garlic.
A little bit of smoked paprika.
You can get a sweet one or a smoky one.
I like to use the smoky.
Little cayenne.
Now I’m going to add my olive oil.
(whirring)
I’m gonna give it a taste.
As usual, more salt.
Touch more vinegar.
And I’m going to add the rest of this garlic clove.
I like it when it’s kinda heavy on the garlic.
I don’t wanna overprocess it
because I don’t want it to get too smooth.
I’m going to let it, you know,
I’m going to let it sit for a bit
and re-season it before I serve it.
Because I find that oftentimes with that amount of garlic,
the garlic sort of starts to heat up over time
and it gets a little bit strong.
So I can always add more garlic,
I can’t take away garlic.
I can always add more salt, I can’t take away more salt.
So I’m going to let it sit here for a bit.
All right, sauce number two.
We’re halfway there.
I’m making basil pesto the way that a pesto should be made,
with the pestle and with a mortar.
And it should be done by hand.
Lot of people make pesto in a food processor.
It’s not my favorite way to do it
because what happens is when you use a mortar and pestle,
you pound the leaves of the basil,
which helped to extract all of the flavor
that is never achieved using a food processor.
All right.
I’ve got my toasted pine nuts.
I’m gonna use some flaky sea salt.
I’m using a coarse, flaky salt
as opposed to a finer granulated kosher salt,
because the coarseness of the salt is going
to help break up the leaves of the basil.
Alrighty.
So what I need is I need some garlic.
I’m going to start with two cloves of garlic
and add more as needed.
And I’m going to microplane them in.
Now one thing I like to add to my pesto is
I love to add a little bit of lemon rind
or the yellow part only of the lemon.
I think it just adds a lot of brightness to the dish.
You don’t really see that
when you look at most recipes for pesto,
you don’t usually see lemon,
but I happen to like that addition.
Well, I only want to use the color part.
Once you get past that colored part,
the underneath, the pith, can be very bitter.
Okay.
I’m just going to pound the pine nuts just a little bit
to break them up.
I like to be able to go to farmer’s markets
and get my basil in bunches.
Much more satisfying and usually more flavorful
than the packets that you buy in the supermarket.
I’m taking off the leaves.
Strip that pretty well.
And I’m going to see how much I have from here.
I’m going to just roll it up
and get a headstart by slicing it.
Saves me a little bit of that arm work of pounding it.
Think I need a little bit more.
It really takes a lot of basil
even to make quite a small batch.
Because the flavor of the basil
when pounded really fades over time,
I never keep basil pesto at the restaurant
longer than two days.
So this is not something you want to think
about making a huge batch of to use over,
you know, a few weeks time.
So this is something you really want
to make no more than two days in advance.
I love this mortar and pestle.
It was probably, I’m not sure if it was this exact one,
’cause I have one similar in size.
But when I went to cooking school in London in 1977
at the Cordon Bleu where they introduced me
to these mortar and pestles
because they’re used at the pharmacies in England
to pound the pills.
And it was the first, I think, piece of equipment,
if it’s a piece of equipment, that I actually purchased.
So it means a lot to me and I have them in all sizes.
I have a tiny one for pounding spices
and they go all up in size to one that’s super large
that we use also at the restaurant,
but this is a perfect size
for the amount of pesto I’m making.
You know, a lot of people make the mistake
of buying a tiny mortar and pestle.
And it really is not much use
except for grinding pepper or a couple spices
because you need to have the amount of room
to be able to crush your herbs.
Basil pesto really originated in Genoa in Liguria
because the variety of basil
that they grow there is a Genovese basil,
which really makes the best pesto there is.
And that’s why it’s so popular there.
And there, the traditional mortar and pestle is
a marble mortar and a wood pestle.
I prefer these actually to the ones that are made
out of like some sort of volcanic rock,
which are very porous.
They’re great, for one thing,
is that because they’re so porous,
they’re so abrasive and it kind of helps in making a sauce.
But I find too much stuff gets caught in those little nooks.
So to me, this is really my favorite one.
I’m making a paste,
but I don’t want to mimic what it would look like
if I made it in the food processor,
meaning it would be pureed
and you wouldn’t even see the leaves.
But what I am trying to do is
I’m trying to pound out all the flavor out of the leaves,
but not necessarily overdo it.
I’ve got a nice paste now
and I’m going to add my olive oil to that.
And you want to do that rather quickly
because what happens when the leaves are bruised like this,
if they’re not covered in olive oil,
they will oxidize and turn all black.
So you actually,
you don’t want to walk away from it at this point,
this point you want to get your olive oil in there.
You start out with a small amount
and work it into that paste.
And then we can add it a little bit quicker.
And the olive oil is really there for consistency.
I don’t like a dry pesto,
but one that has too much oil is going
to hide the flavor of the basil.
Because of the amount of garlic that I like in my pesto,
if you choose an olive oil that’s too spicy,
I think it really kind of competes with that garlicky flavor
that you are getting from the garlic.
So a little bit more of a mild olive oil,
I think is really the right choice.
Okay, almost done.
I just have to add the cheese.
I’m going to be adding two cheese, a Parmigiano-Reggiano.
And in addition, a Pecorino Romano.
I like the flavor of the two cheese.
The Pecorino Romano is a little bit stronger,
a little bit saltier.
I think they’re great together.
And I’m just going to microplane that right in.
Half and half.
Really about 1/4 cup, 1/4 to 1/2 a cup.
When you microplane it,
it just seems like an enormous amount
because it’s so aerated, but it really isn’t.
You want to see that cheese in there,
but you don’t want to taste only cheese.
Little salt.
Actually needs a little more garlic.
Garlic.
A little bit of fresh lemon juice.
And notice how I squeeze my lemons always cut side up
so that I don’t lose the seeds into what I’m making.
Little more cheese.
You know, a lot of this is just strictly to taste.
The amount of garlic you like.
If you like the flavor of the Parmigiano and Pecorino,
you can add a little bit more.
It’s not really a real recipe.
For my palate, it should taste exactly like this one.
And now we will have completed sauce number three.
Nice and green and bright and fresh.
All right, I’m going to add this to my lineup of sauces.
And now we have sauce number three.
All right, last sauce.
The black olive tapenade.
I have the capers out.
My black olive paste.
I’ve got my anchovies, I’ve got my garlic,
I’ve got my lemons, I’ve got my oranges.
Capers are preserved in salt
so I need to rinse off that salt.
Just soak ’em for about 10, 15 minutes.
Then let me open my anchovies.
Now these are salt packed anchovies.
When I’m making things like Caesar dressing or tapenade,
I like to use salt packed anchovies.
They’re strong, they’re affordable.
I know it seems like a lot,
but because they’re preserved in salt,
they will last really next to forever.
They’re super tasty.
I prefer Sicilian or a Spanish anchovy
that comes packed in oil.
Now with these, the anchovy comes whole.
Oh, here’s a large one,
so I really only need one of these.
So you need to take the bone out,
just kind of drop it in some water
or run it under the sink just to remove the salt.
And then you don’t even have to be careful
when you open it up because you’re chopping this.
You can just rip it open and just remove that skeleton.
And because we’re just going to be chopping this up,
you don’t have to be careful and filet it
to remove that skeleton, you can just open it up.
The skeleton comes away very easily.
Like that.
Just discard that skeleton
and we’re going to check
to make sure we have no leftover skeleton or bones.
Seems fine.
We’re going to chop this up along with the capers
to add to my black olive tapenade.
Now I kind of cheat a little with the black olive tapenade
and I start out with some olive pate that’s already pureed.
Reason I do this really is for convenience.
I mean, at the restaurant,
we buy our olives that have the pits.
And so I have to pit quite a lot of olives,
both to make my puree and then to add back
so it’s kind of chunky.
So we actually buy already pureed olives.
If you don’t want to buy two types of olives,
just take the amount of olives
that is called for in the pate,
puree ’em in a food processor,
and then chop up the remaining olives.
So I’ve got my pate right here.
When you buy black olive pate,
make sure you read the ingredients on the label.
You only want one that is pure black olives and oil,
nothing more because there’s a lot of olive pates
on the market that have all sorts of vegetables in them
like eggplant, zucchini.
Some of them have basil, other kinds of flavorings.
You want just a pure true olive pate.
So I just want to make enough to fill that bowl,
so I’m gonna add a little bit more just in case.
All right, I am going to grate a couple cloves
of peeled garlic into that.
I’m gonna grate some orange zest and lemon zest into that.
Careful to only grate deep enough
that I only get the color part of the fruit,
not the white pith.
You don’t want the bitterness of that.
Lemon as well.
And then I’m going to add some of the juice
from half a lemon.
So right now I’m smashing the anchovy into a paste
with the flat edge of my knife.
Anchovies, you either love ’em or hate ’em.
Once you acquire a taste for them,
then it’s something that you just really, really crave.
I love them.
I think that when I was younger,
I think they were just way too strong for me,
or it’s quite possible I only ate bad anchovies.
Now, certainly if you are one of those rare anchovy haters
or you don’t eat fish,
you can certainly make the tapenade without the anchovies.
But I feel that it really adds that flavor
that really sort of brings tapenade to another level.
And quite frankly, most people wouldn’t even guess
that there was anchovy in there.
So I’m not making a fishy olive sauce.
This is just an olive sauce that has a whole lot of flavor.
Now I’m going to chop up some olive
so I have the coarse olive tapenade that I’m looking for.
These are using the Taggiasca olives.
You could certainly use Kalamata, a Greek olive, Nicoise.
These are just the olive of choice for me.
Here we go.
All right, let’s see how that tastes.
Probably going to chunk up some more olives into that.
Let me go ahead and add a little bit of olive oil
and I’m just adding it really for consistency.
Slightly oily.
Yeah, I’m going to add
a little bit more chunky olive to this.
(knife chopping)
Looks better.
And then I’ll finish it with some sliced parsley.
I’m just shaving it with the knife.
I’m doing it super rough.
I just made sure I didn’t get the stems.
It’s just a quick way of not having to pick each leaf.
It works well with parsley.
You know, again, this is not something
that I’m trying to have a perfect look.
It’s a pretty rustic sauce.
The parsley just adds just a bright color of green in there.
Needs more zest.
Well, I need to add some more garlic.
This is great.
All right, sauce number four.
Add it to the collection.
The bufala that we use at our restaurants
in Los Angeles comes from Italy.
As soon as you bite into it,
it’s like a sponge and all of the milk kind of oozes out.
All in a day’s work, right?
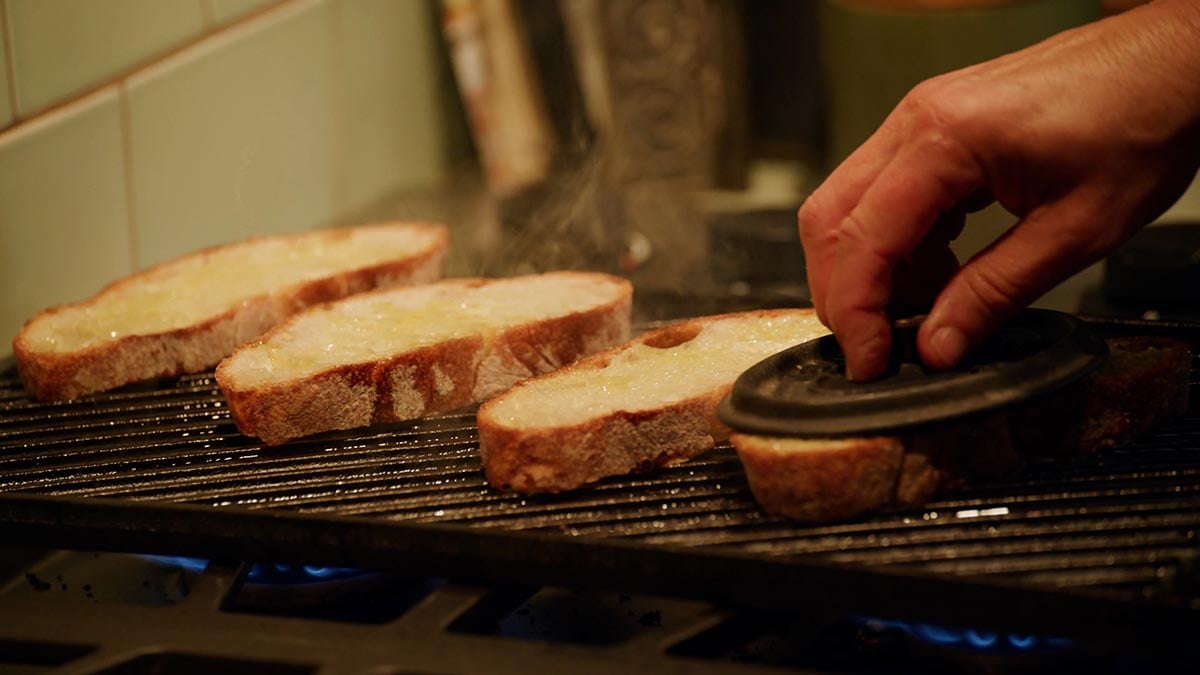
And now I’m going to grill some bread to go along with it.
Okay, let’s grill some bread.
This bread is baked
by a wonderful bakery called Bub and Grandma.
Right now La Brea Bakery is not wholesaling their bread
since they’re just making it out of their retail shop.
So I buy it from a bakery called Bub and Grandma.
Terrific bakery.
It’s only been around for a couple of years,
but they’re doing a great, great job.
And this is their ciabatta.
Yeah, I don’t need tongs.
Just have olive oil on this.
But I’m going to finish the bread
with extra special olive oil that I really love.
It is from Tuscany.
It’s called Capezzana.
Wow, that is hot.
I’m turning this off.
Now I’ll just grab it.
There we go.
All right, so I am making one of the best Italian recipes
and satisfying that I can think of
and what it is is it’s called fett’unta
and it’s slang for sliced and greasy.
So you take the grilled bread or toasted bread,
and I like to rub it on both sides with garlic.
Then you want to literally drown it
in your favorite olive oil.
And the best time to make fett’unta is December, January,
just after that year’s olive growth has been pressed.
So you literally drown it in olive oil
and then sprinkle it with a flaky sea salt.
Easy, delicious.
You can serve it whole, cut it into chunks,
but nothing goes better with mozzarella than fett’unta.
All right.
A mini mozzarella bar.
I’ve got my bufala milk mozzarella, my fett’unta,
black olive tapenade, caperberry relish,
salsa romesco, basil pesto.
An edible masterpiece, if I do say so myself.
(calm nothing)